
Key points:
- Elementor doesn’t natively support ACF repeater fields, but you can overcome this limitation through either custom code or third-party plugins.
- Learn how to create, design, and display dynamic content from ACF repeater fields directly within Elementor’s visual interface.
- Apply these techniques to real-world scenarios and create team directories, testimonial sliders, product showcases, and other dynamic content that updates automatically.
- Unlock the powerful repeater field functionality with ACF PRO to create structured, repeatable content that integrates with Elementor.
Most Advanced Custom Fields (ACF®) users who use a page builder choose Elementor, and it’s obvious why: it offers an intuitive visual interface that makes designing a site feel almost effortless.
Meanwhile, ACF’s repeater fields – available in the PRO version – unlock the ability to create repeatable groups of content, like team bios, testimonials, or product features, giving your site structure and flexibility.
The prospect of marrying ACF’s powerful data management with Elementor’s creative freedom is attractive, to say the least.
The bad news is Elementor doesn’t natively support these repeater fields, which can leave even seasoned developers stuck. The good news is that there are practical solutions – primarily through custom code or third-party plugins – that can bridge this gap.
We’ll explore those options in detail, so you’ll come away knowing how to display repeater data within Elementor.
Solution 1. Display ACF repeaters in Elementor through custom code
The first method you can use to display ACF repeater fields with Elementor is with a bit of custom code. Elementor’s HTML widget doesn’t support PHP, so we’ll need to create a custom shortcode that outputs the repeater field content anywhere on your site, including within Elementor.
Here’s how:
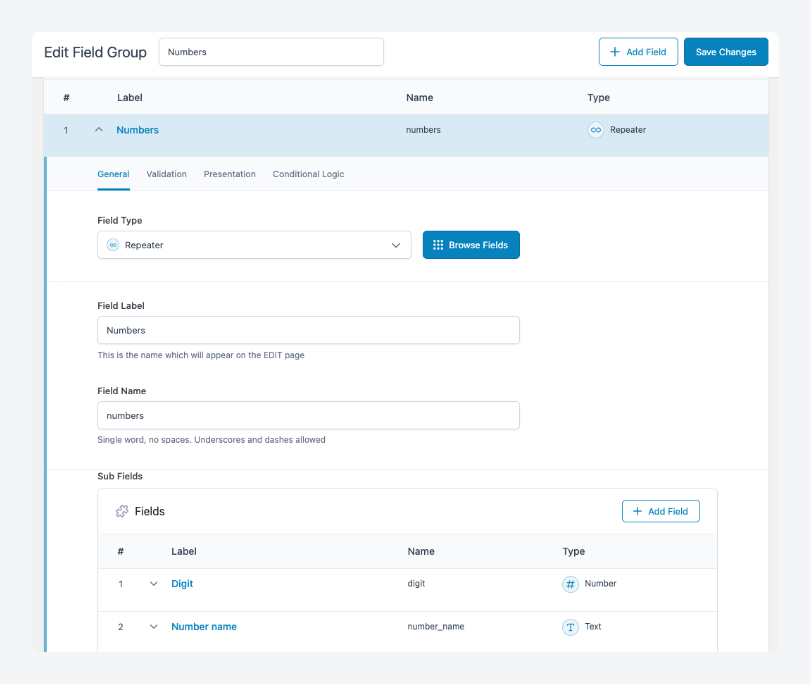
- Ensure your repeater field data is ready, and pay special attention to the field names. Here, we’re going to be using a repeater field called “Numbers”, with sub-fields for digits and number names.
- Add the following code – for registering the custom shortcode – to your child theme’s functions.php or install it as a custom plugin:
function display_acf_repeater_numbers() {
    // Check if there are rows of data in the repeater field
    if( have_rows('numbers') ):
        $output = '<ul>'; // Open unordered list

        // Loop through the rows of data
        while( have_rows('numbers') ): the_row();
            $digit = get_sub_field('digit');  // Get the sub field 'digit'
            $number_name = get_sub_field('number_name');  // Get the sub field 'number_name'

            // Format and append each item to the output
            $output .= '<li>The number ' . esc_html($digit) . ' is ' . esc_html($number_name) . '</li>';
        endwhile;

        $output .= '</ul>'; // Close unordered list
        return $output;
    else:
        return 'No numbers found.';
    endif;
}
add_shortcode('acf_repeater_numbers', 'display_acf_repeater_numbers');- Create a new post via Posts > Add New Post.
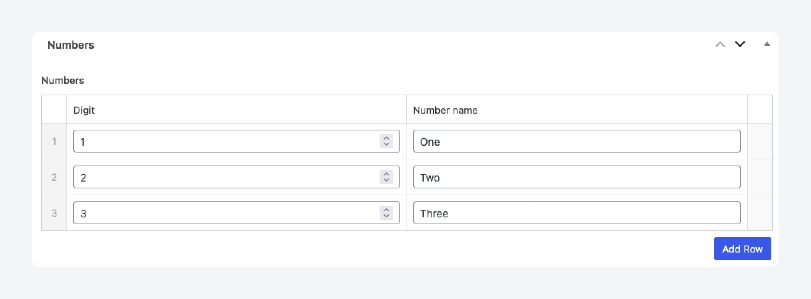
- Fill in the repeater field data below the editor. Click Add Row to create a new item.
- Save the post and open it in Elementor.
- Search for the Shortcode widget and add it to the canvas.

- When the widget editor opens, enter [acf_repeater_numbers] as the shortcode.
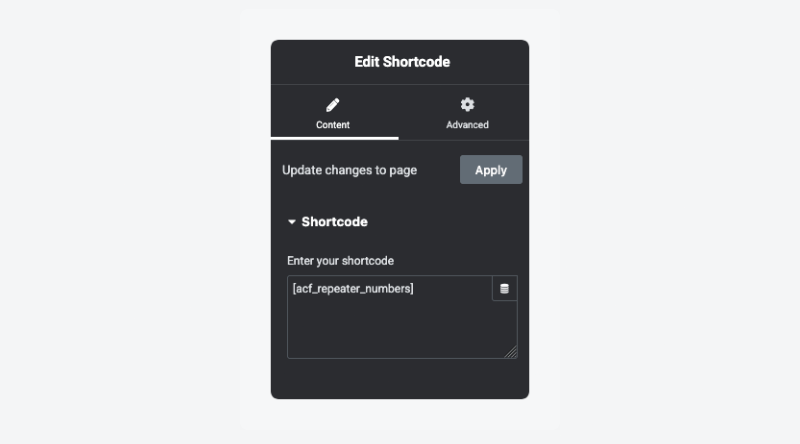
- This will update the canvas with your custom repeater field’s data.
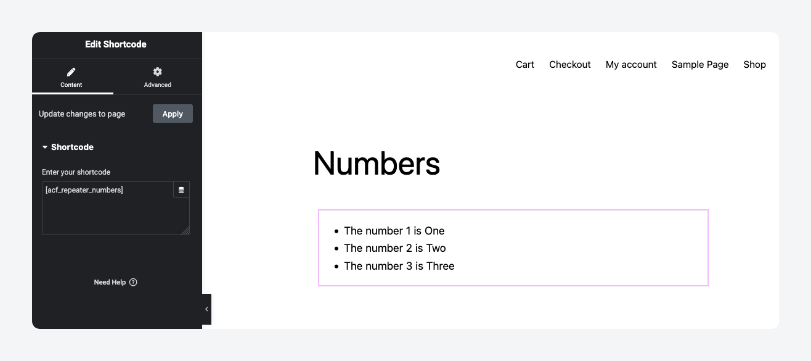
- Save the post, then view it on the frontend. Here’s what it should look like:
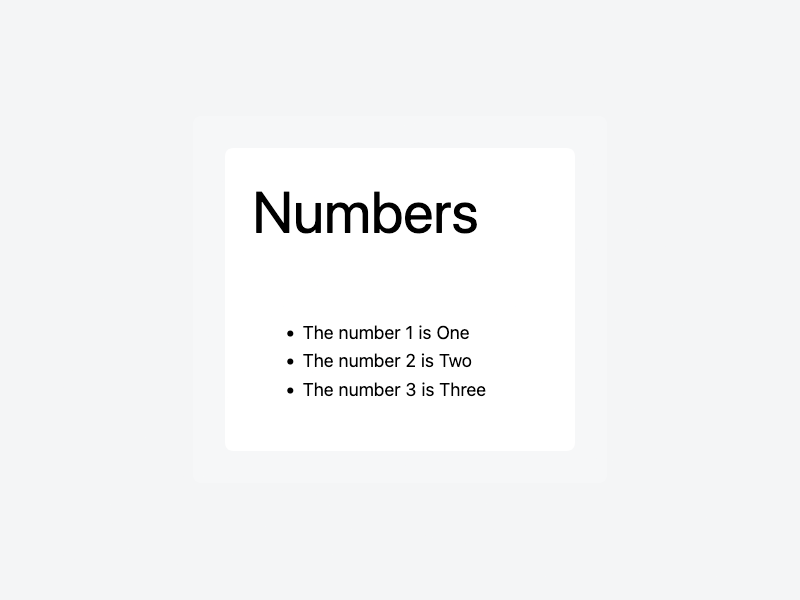
Like any other Elementor widget, you can style the shortcode’s output by going to Advanced > Custom CSS.
If you’re comfortable writing code, this method gives you the most flexibility. However, it’s also the most error-prone. Here are some issues you might run into and how to address them:
- No ACF data on a page can break the output, so always include a fallback message like “No numbers found” to ensure smooth rendering.
- Unescaped data can lead to security vulnerabilities, so sanitize output with functions like
esc_html(),esc_attr(),or esc_url(). - Large repeater fields can slow page load times, so limit rows with
max_rowsin ACF settings or use AJAX for large data sets.
Supercharge Your Website With Premium Features Using ACF PRO
Speed up your workflow and unlock features to better develop websites using ACF Blocks and Options Pages, with the Flexible Content, Repeater, Clone, Gallery Fields & More.
Solution 2. Use third-party plugins for integrating ACF repeaters in Elementor
Third-party plugins offer a highly accessible and user-friendly solution for displaying ACF repeater field content with Elementor – especially if diving into custom code isn’t your thing.
Several plugins have stepped up to bridge this gap between ACF and Elementor:
- Dynamic Content for Elementor
- ACF Repeater in Elementor
- Elementor ACF Repeater WordPress Plugin
- Advanced Views Lite
While any one of these plugins will get the job done, we’re going to focus on Dynamic Content for Elementor. We’ve found it offers the most comprehensive set of ACF-specific widgets and a smooth user experience, making it the most versatile and beginner-friendly option.
Step 1. Setting up
Start by installing and activating the Dynamic Content for Elementor plugin.
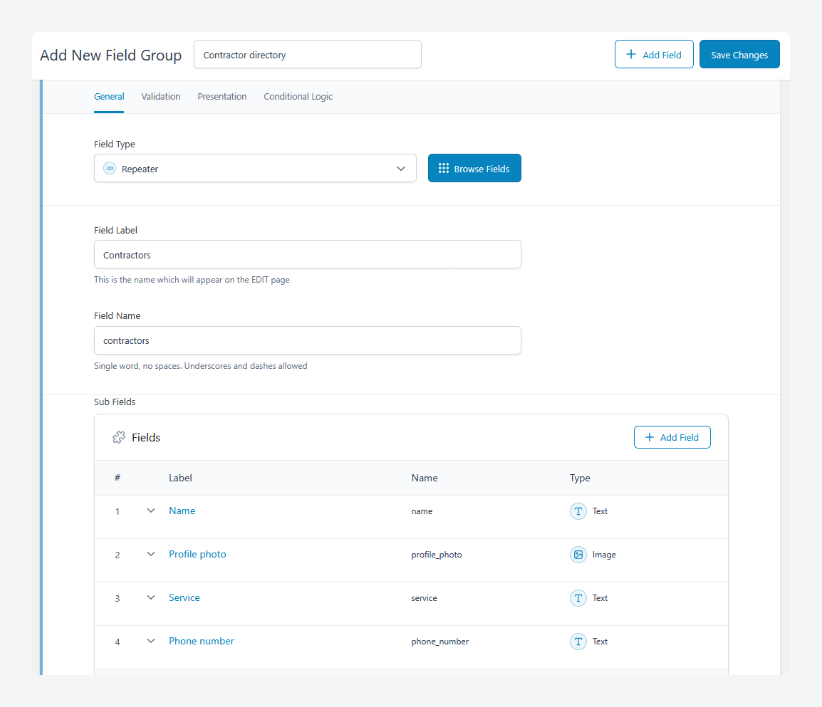
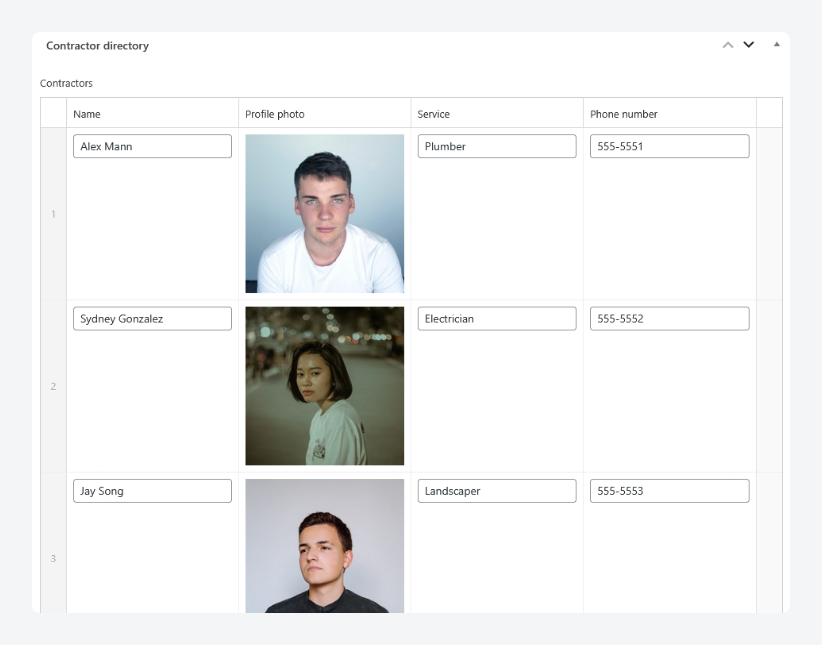
When it’s ready, ensure your ACF repeater field data is ready. For this walkthrough, we’re going to create an ACF repeater field for contractors with the following sub-fields:
- Name
- Profile photo
- Service
- Phone number
Here’s what the field should look like:
Step 2. Adding an Elementor template
Next, we’re going to create the template we’ll use to render a single item in the repeater field, i.e., each contractor’s details:
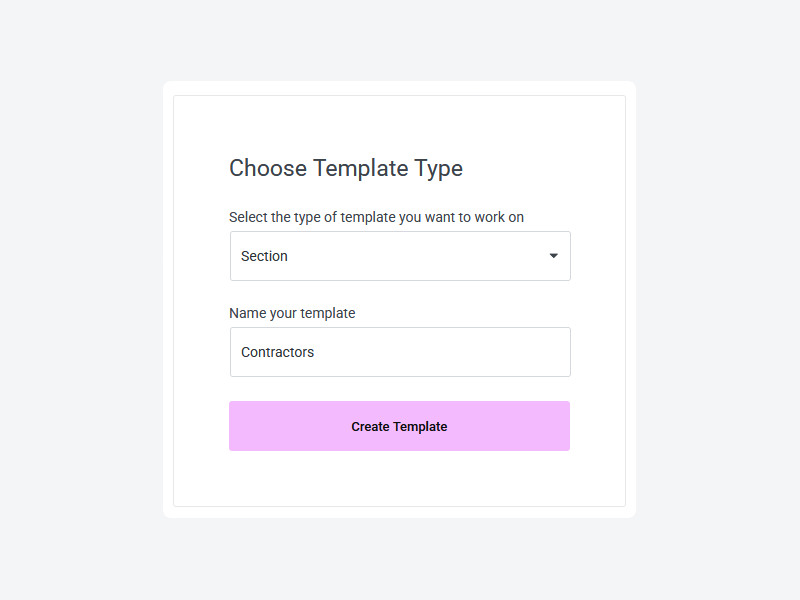
- From the dashboard, go to Templates > Add New.
- For the template type, select Section, provide a name, and then click Create Template.
You’ll need to use the new ACF Fields widget to add the repeater field’s subfields to the template in your preferred layout.

To create the layout, drag the widget to the area of the canvas where you want to display it. After that, click the dropdown under Select the field, type in the relevant subfield’s name, then click it when it comes up.
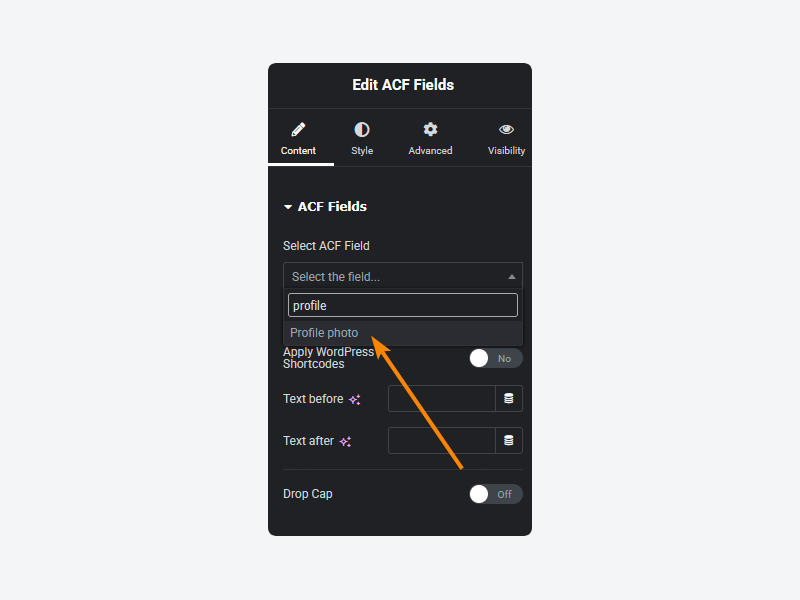
- Click the dropdown next to ACF Type and select the field’s content type. For example, the profile photo field would be Image. This will enable the appropriate customization controls for the field content.

- With the styling tools available, customize the look of the field content as needed. You can add text to appear before and/or after the content, or switch to the Style tab for even more customization options.
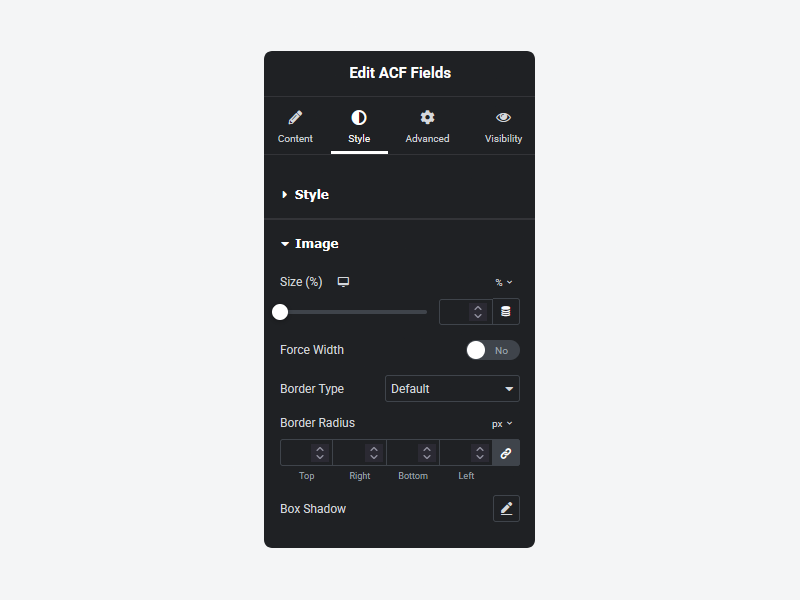
- Repeat the process for other fields, then hit Publish to save the template. For this walkthrough, we’re creating a template with the profile photo, name, service, and phone number stacked vertically in that order. Additional styling includes rounded corners for the picture, bolding for the name, and the text “Phone number: “, with a space at the end, appearing before the phone number.

Step 3. Creating and outputting ACF Repeater content with Elementor
Finally, we’ll enter our repeater field’s data, i.e., multiple contractors’ details, then output it on the frontend by looping through it.
Let’s start by inputting the data:
- Create a new post or page where the repeater field shows up. By default, this will be any post.
- Click Add Row to start filling in the repeater field content.
- Fill in the fields, clicking New Row to create a new row of entries.
- When you’re done, click Edit with Elementor to open the builder.
From here, you’ll need to use the new ACF Repeater widget to automatically loop through and display your repeater field content.
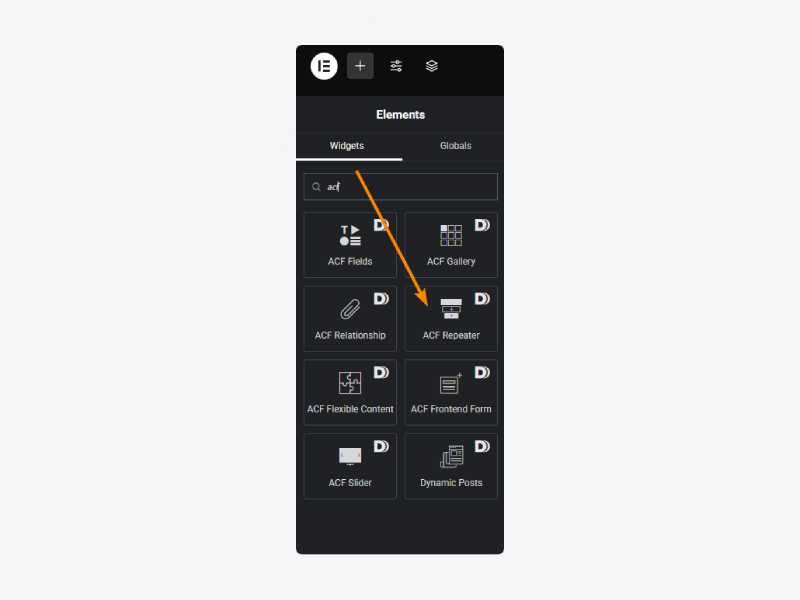
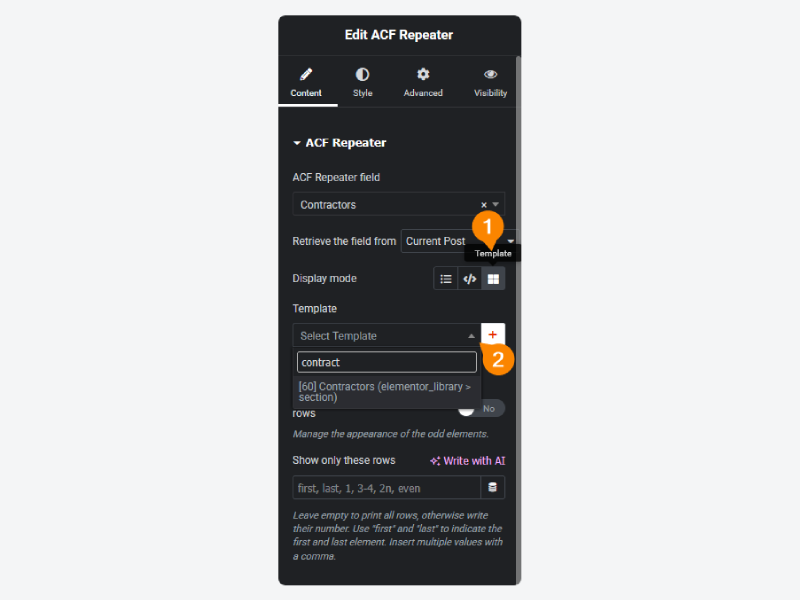
- Drag the ACF Repeater widget into the canvas.
- Select the repeater field from the dropdown under ACF Repeater field.
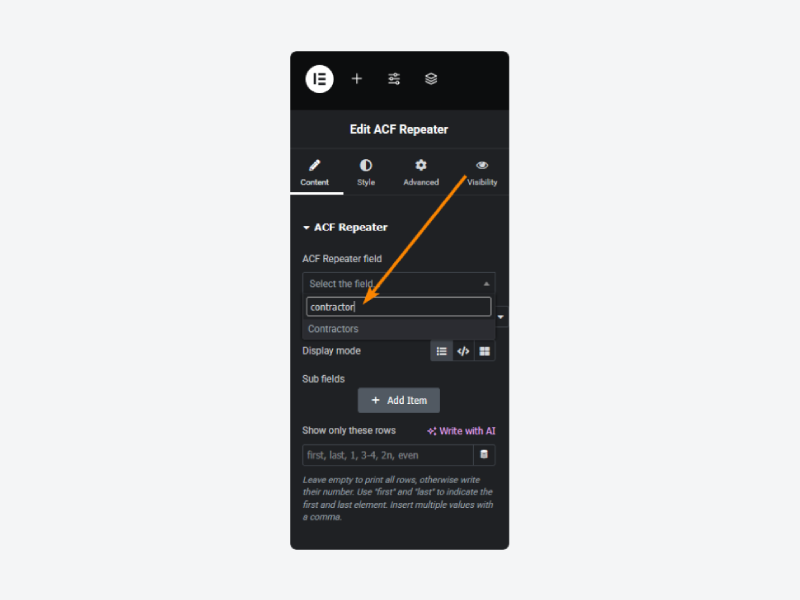
- From the list next to Display mode, choose Template, then select the template created in the previous section from the dropdown.
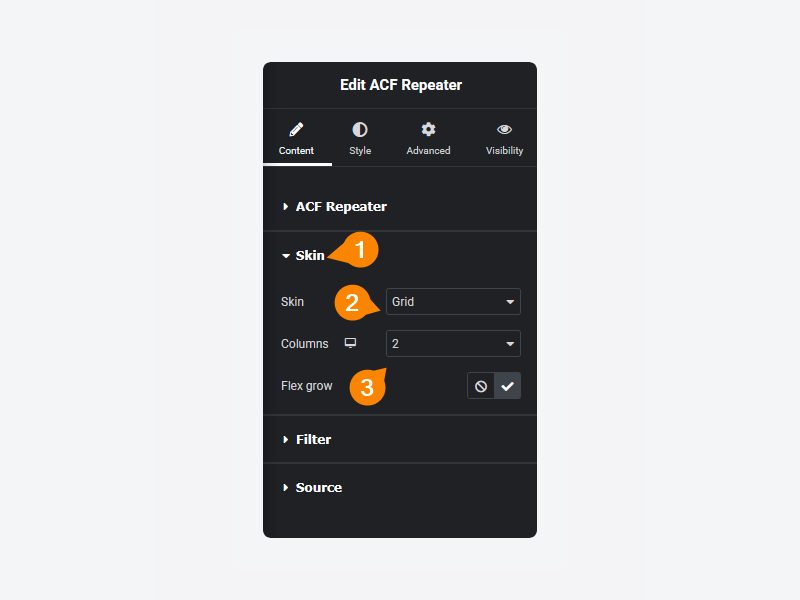
- Expand the Skin accordion section and change the Skin to Grid with 2 columns.
- Publish the post when you’re done.
Now, when you load up the page, you should see your repeater field content in action.

Start creating powerful, dynamic websites with Elementor and ACF repeaters
Successfully integrating ACF repeater fields with Elementor, via custom code or a third-party plugin, unlocks powerful dynamic content and flexible layouts that elevate any WordPress project.
Instead of compromising or abandoning either tool, you gain the ability to create rich, repeatable content – like team profiles, testimonials, and product showcases – that’s easy to update and manage.
And if you’re serious about taking your WordPress builds to the next level, investing in ACF PRO (starting at just $49 per year) to access repeater fields is an easy decision.
As @oceandigitals on WordPress.org puts it, this is “simply a must-have plugin for every WP project”. Check out ACF PRO today and you’ll understand why.


For plugin support, please contact our support team directly, as comments aren't actively monitored.