
Key points:
- The WordPress White Screen of Death (WSoD) is a critical error that displays a blank page, completely halting your website’s functionality and requiring diagnosis.
- Common solutions include disabling plugins, switching themes, clearing cache, and increasing PHP memory limits, while severe cases may require checking failed updates, fixing syntax errors, or restoring backups.
- Prevention strategies like regular backups, staging environment testing, and using structured development tools like Advanced Custom Fields (ACF®) can significantly reduce WSoD risk.
In 2021, a whopping 71% of companies experienced unplanned website downtime, costing the average company an estimated $5,600 a minute.
For WordPress site owners, few issues are more alarming than the White Screen of Death (WSoD) – that heart-stopping moment when your website suddenly displays nothing but a blank white page.
If you’re reading this, chances are you’ve already tried refreshing the page, but your WordPress site remains stubbornly blank. Don’t panic; you’re in the right place.
This troubleshooting guide walks you through a systematic process to diagnose and fix the WordPress WSoD, starting with quick, simple solutions before progressing to more advanced recovery methods.
We’ll help you identify the root cause – whether it’s a plugin conflict, a theme issue, or something else entirely – and provide clear steps to resolve it.
What is the White Screen of Death (WSoD) error?
It’s exactly what it sounds like, but if you want to get a bit more technical, the WSoD represents a critical system failure where PHP execution terminates abruptly, leaving users staring at a completely blank page.
Unlike typical WordPress errors that display helpful messages or the familiar “Sorry, something went wrong” screen, the WSoD offers no clues about what happened. This complete absence of information makes troubleshooting incredibly difficult, as traditional debugging approaches depend on error messages to guide the resolution process.
What makes the WSoD particularly devastating is its business impact, including:
- Every minute of downtime directly translates to lost sales, especially for eCommerce sites.
- Search engines may downrank sites with frequent availability issues.
- Visitors encountering a blank screen may question your site’s reliability.
- Customer service teams face increased inquiries during outages.
The WSoD can be triggered by several different technical issues. Most commonly, it happens when PHP runs out of memory and simply stops executing.
Other frequent causes include fatal PHP errors from syntax mistakes, database connection problems that prevent WordPress from accessing its content, conflicts between plugins or themes, and server configuration issues like corrupted core files.
However, no single issue is always responsible, which makes diagnosis challenging. The WSoD can also occur selectively throughout your site. Sometimes, it affects your entire website, while in other cases, it might only appear when accessing the WordPress admin area. This inconsistent behavior can further complicate the recovery process.
Given all these variables, how do you actually fix the problem when you’re staring at that dreaded blank screen?
10 solutions for the WordPress WSoD
While one Reddit user, in answer to the question “Does anyone know how to fix the white screen of death?” helpfully commented, “Usually prayers to the WP Gods,” we’re here to offer you some other practical and fast-acting solutions.

The following troubleshooting steps are arranged from simplest to most advanced so you can methodically work through potential fixes without making the situation worse.
Each solution targets a specific potential cause of the WSoD, helping you resolve the issue and understand what went wrong in the first place.
1. Enable debug mode
Since the WSoD provides no error messages by default, turning on debug mode lets you see what’s causing the issue.
To enable debugging:
- Connect to your website using FTP or your hosting file manager
- Locate the
wp-config.phpfile in your WordPress root directory - Look for this line in the file:
define('WP_DEBUG', false);- Change it to:
define('WP_DEBUG', true);This modification will display all errors directly on your screen. While helpful for immediate diagnosis, this isn’t ideal for a live site. For a more secure approach, add these additional lines:
define('WP_DEBUG_LOG', true);
define('WP_DEBUG_DISPLAY', false);
@ini_set('display_errors', 0);
With this configuration, WordPress will record all errors in a log file at /wp-content/debug.log instead of displaying them publicly. You can review this file to identify the specific error message, which will often point directly to the problematic plugin, theme, or code snippet.
2. Increase memory limit
By default, WordPress allocates a modest 40MB of memory for standard sites and 64MB for multisite installations. This limit can quickly become insufficient when running complex plugins, processing large media files, or handling heavy admin tasks, leading to the WSoD.
If your debug log shows errors like “Allowed memory size of X bytes exhausted,” you’re facing a memory exhaustion issue. Here’s how to fix it:
- Access your
wp-config.phpfile via FTP or your hosting file manager. - Add these two lines before the “That’s all, stop editing!” comment:
define('WP_MEMORY_LIMIT', '256M');
define('WP_MAX_MEMORY_LIMIT', '512M');
The first line sets the memory limit for all WordPress operations, while the second specifically addresses admin area tasks that typically require more resources.
For WP Engine users, this solution is fairly straightforward. Their platform allows for these memory adjustments directly in the wp-config.php file, and their infrastructure is optimized to handle the increased memory allocation efficiently.
If you continue to experience memory issues after increasing these limits, you may be dealing with a memory leak from a specific plugin or theme.
To identify memory-hungry components, install a monitoring plugin like Query Monitor on a staging site, then systematically activate plugins one by one while watching memory usage patterns.
3. Disable plugins
Poorly coded plugins, compatibility issues with WordPress core, or conflicts between multiple plugins can all trigger fatal PHP errors that result in a blank screen.
If you can still access your WordPress admin area:
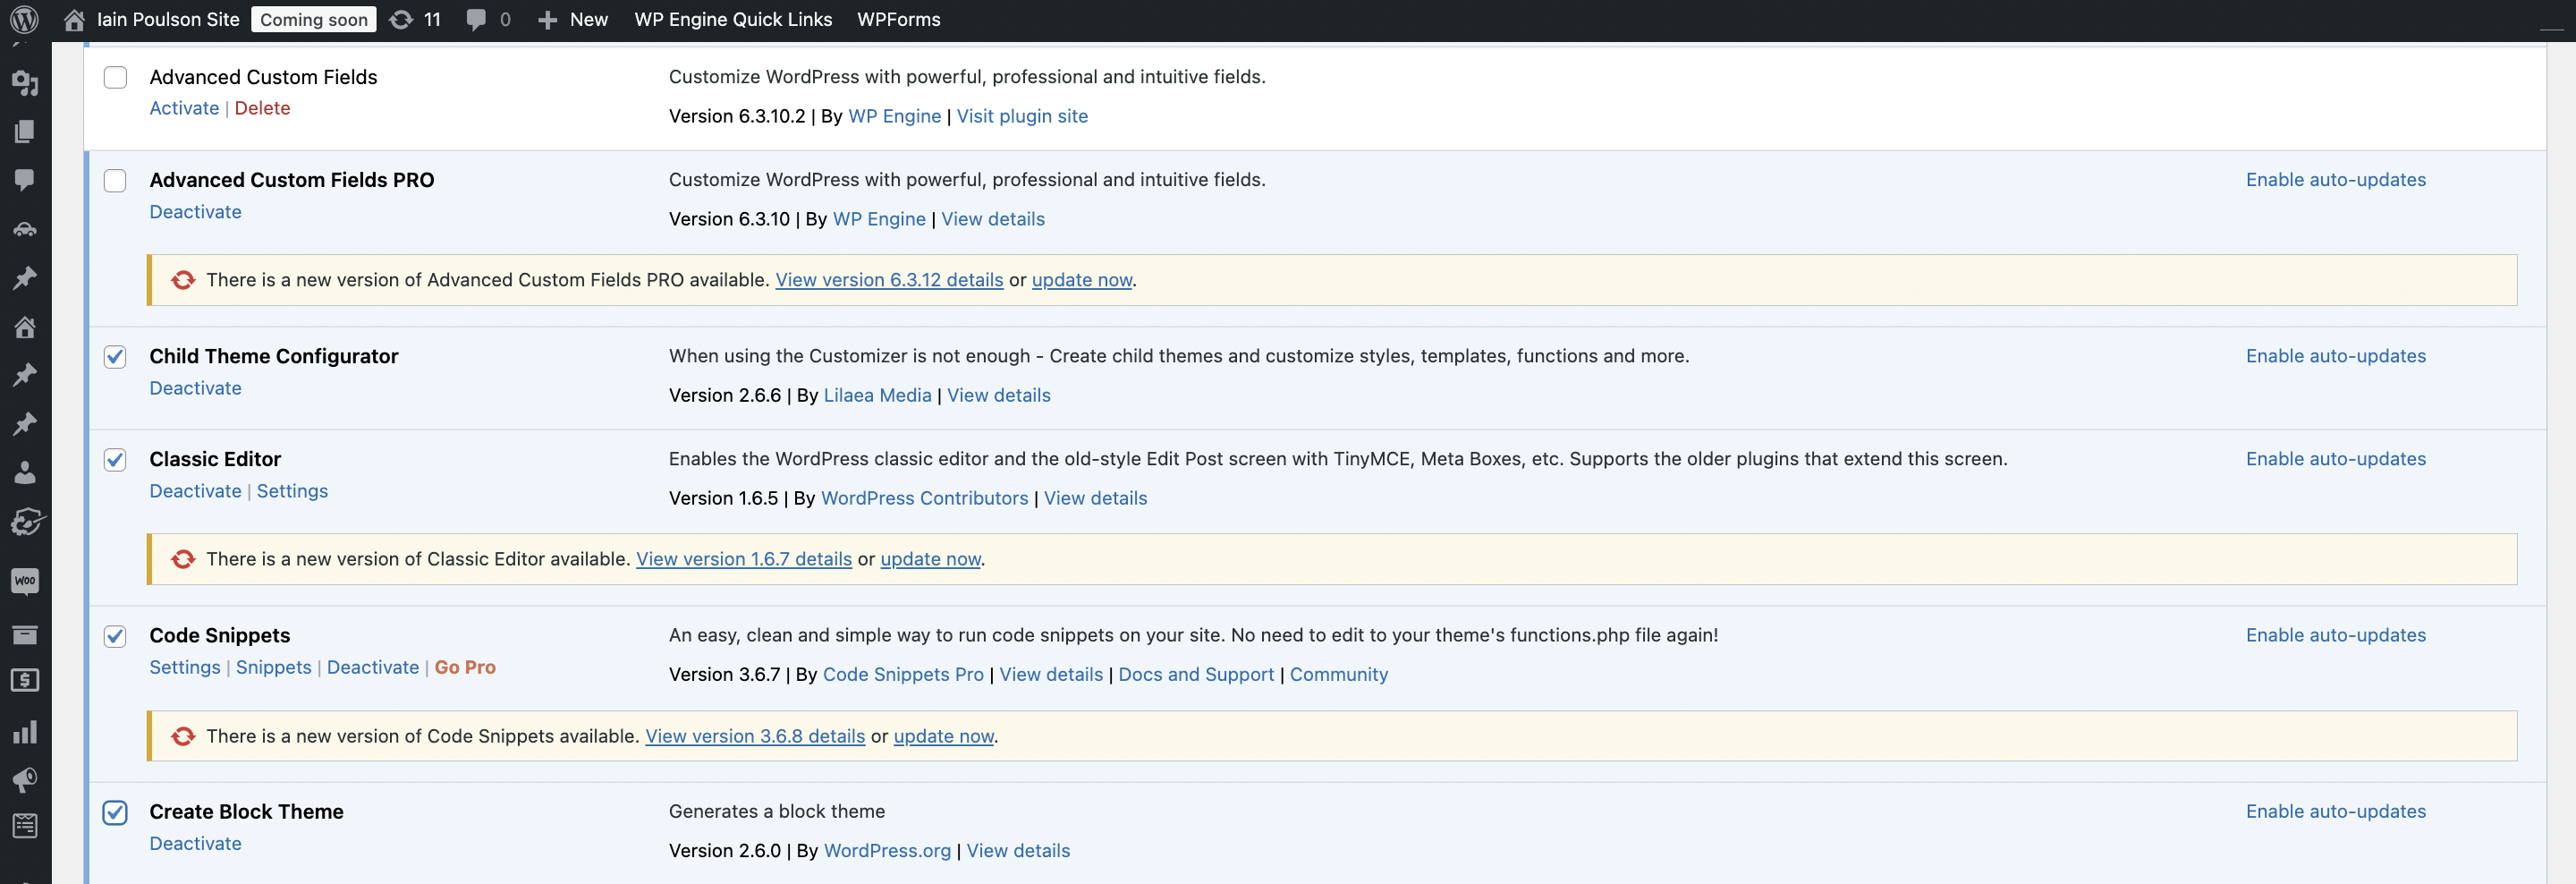
- Navigate to Plugins > Installed Plugins.
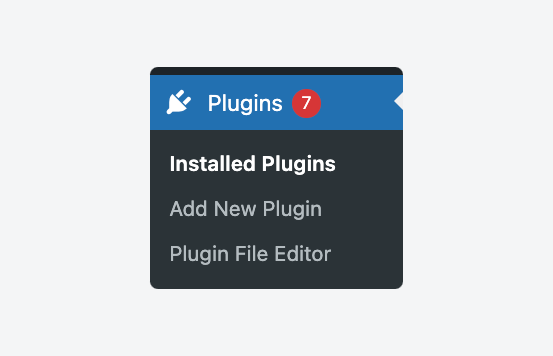
- Select all plugins using the checkbox at the top.
- Choose “Deactivate” from the Bulk Actions dropdown.
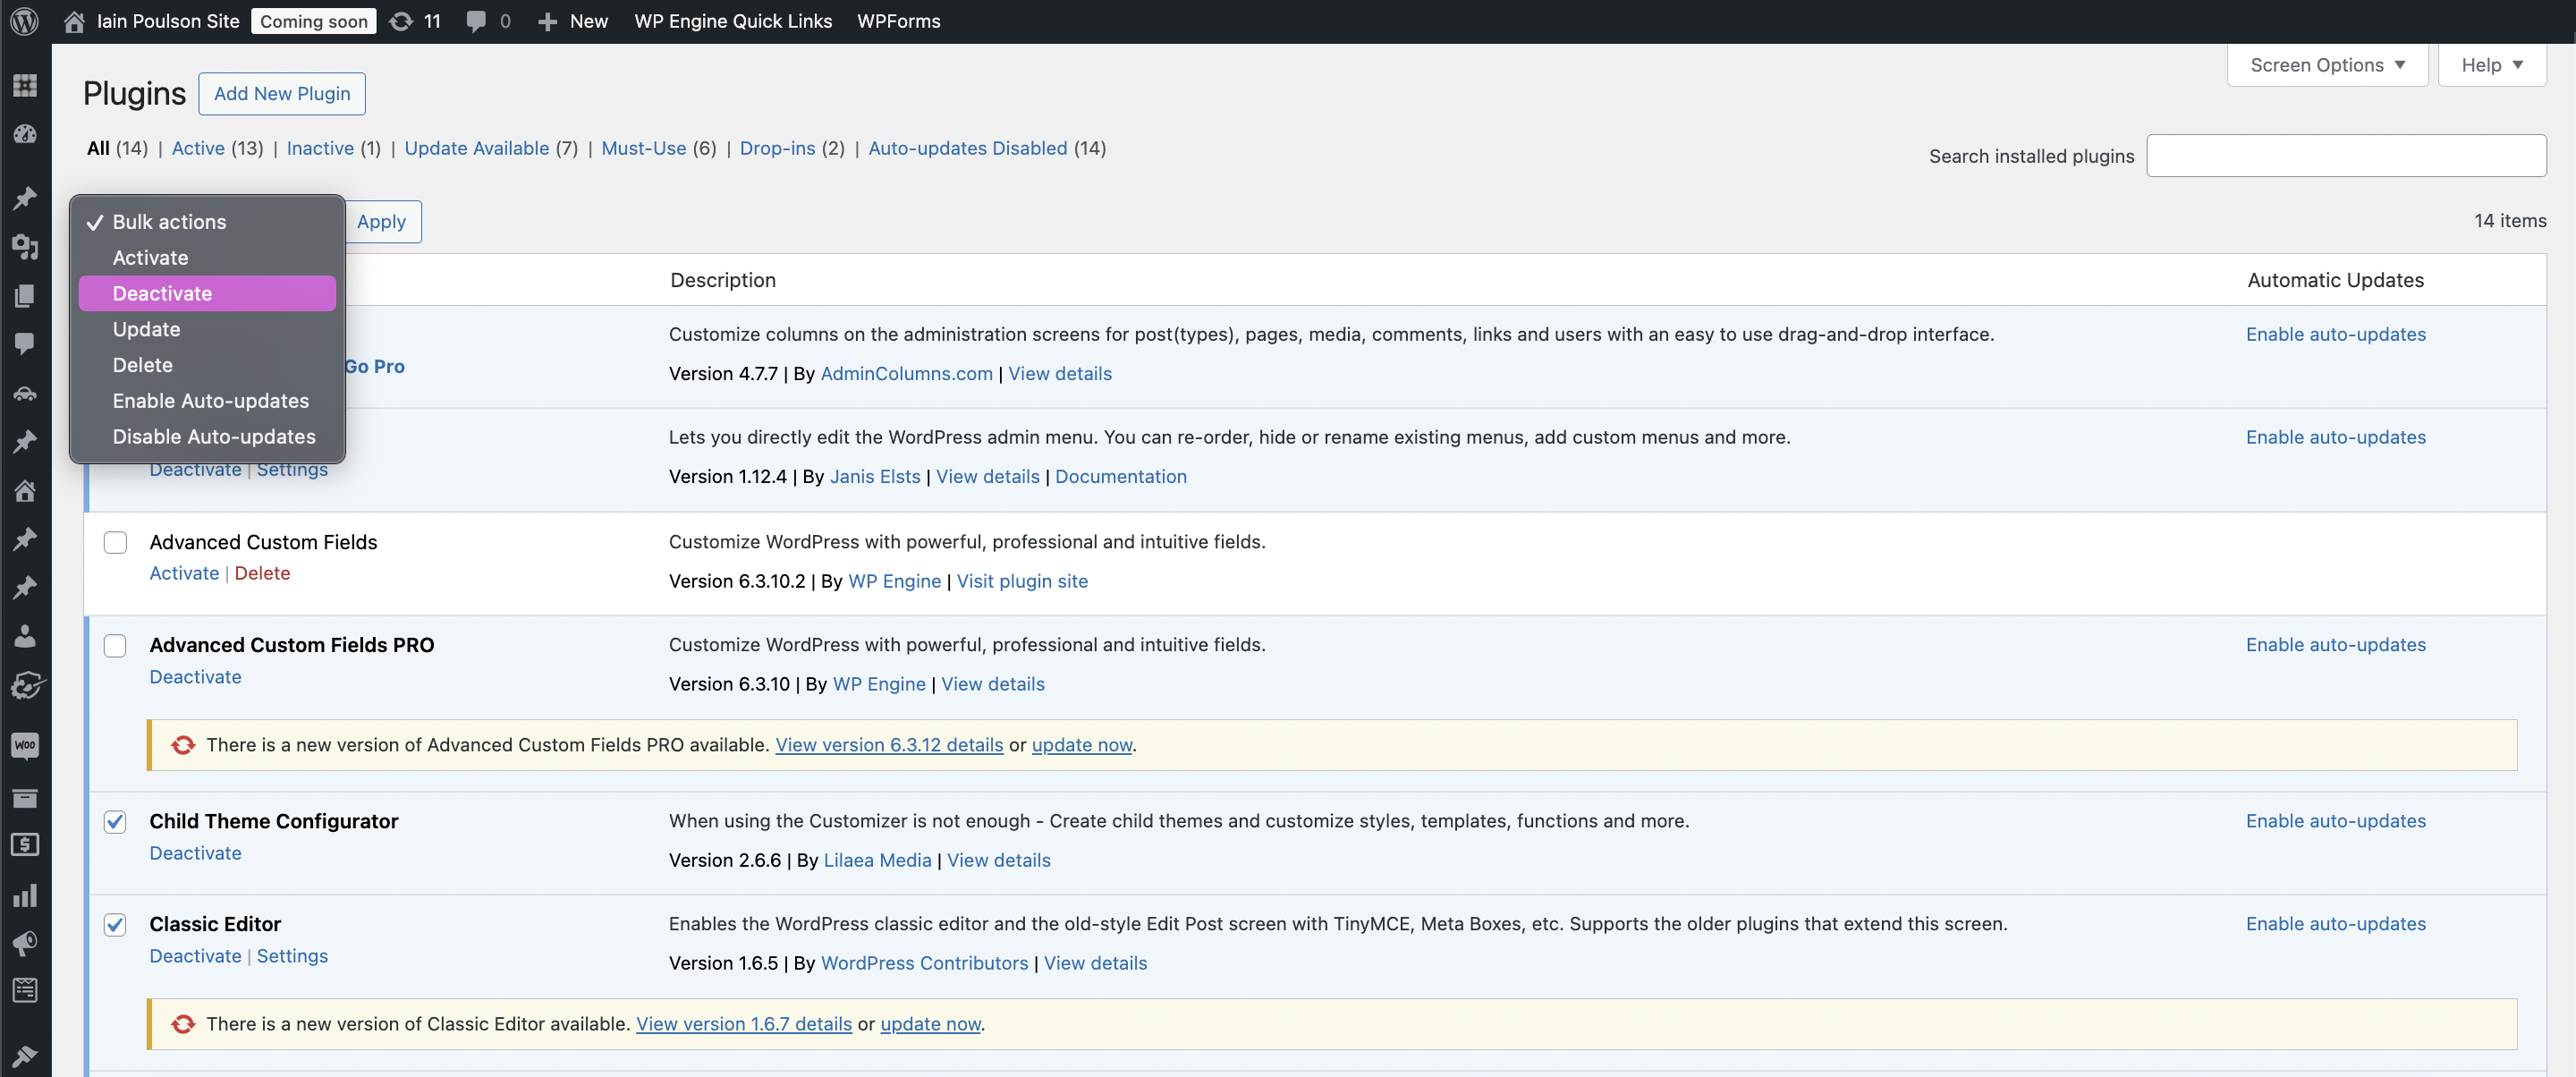
- Click “Apply.”
If you’re locked out of the admin area (which is often the case with WSoD), then you will need to deactivate all plugins via SFTP, like FileZilla. Then, activate them one after the other to see which plugin is causing the error.
4. Activate default theme
Like plugins, themes can trigger WSoD through coding errors, incompatible functions, or resource-intensive processes.
Custom theme modifications are particularly prone to causing issues, especially if you’ve recently edited theme files directly. Even well-coded themes can cause problems if they conflict with plugins or WordPress updates.
If you can access your WordPress dashboard:
- Go to Appearance > Themes.
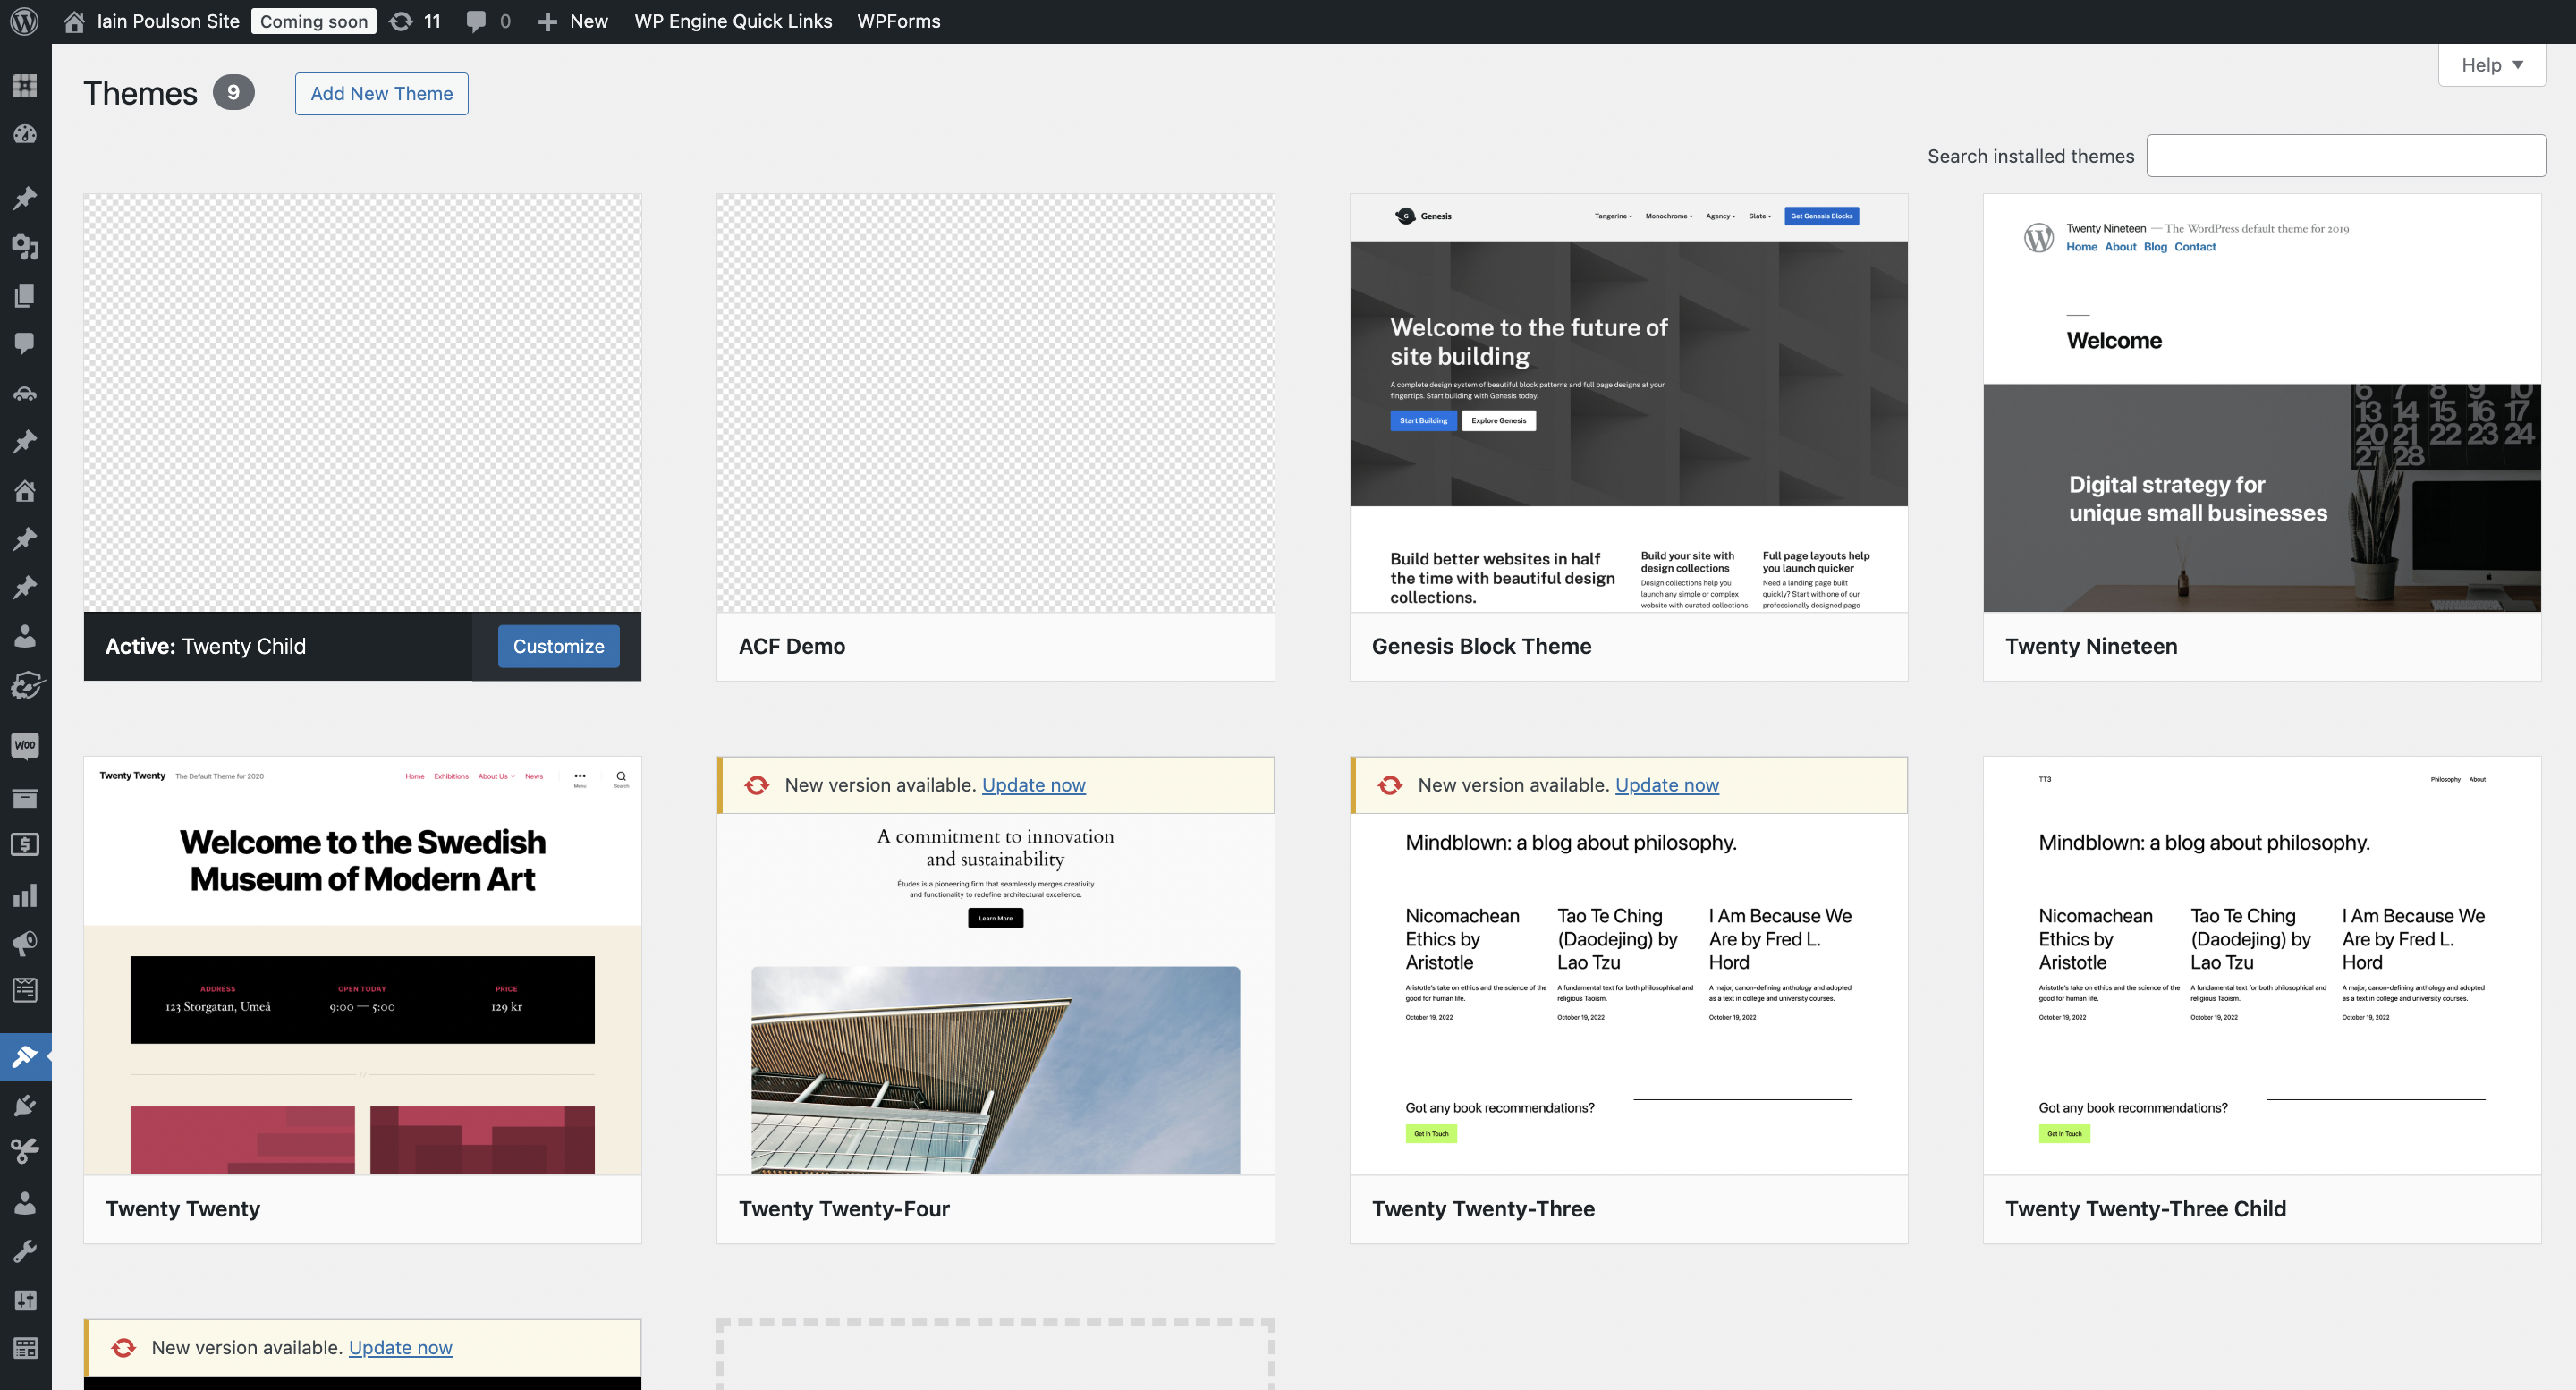
- Activate one of the default WordPress themes like Twenty Twenty.

- Check if your site loads properly with the default theme.
If switching to a default theme resolves the WSoD, the issue lies with your original theme. Consider installing a fresh copy of the theme to eliminate any corrupted files or problematic customizations.
For heavily customized themes, you may need to review recent changes or consult with a developer to identify the specific code causing the problem.
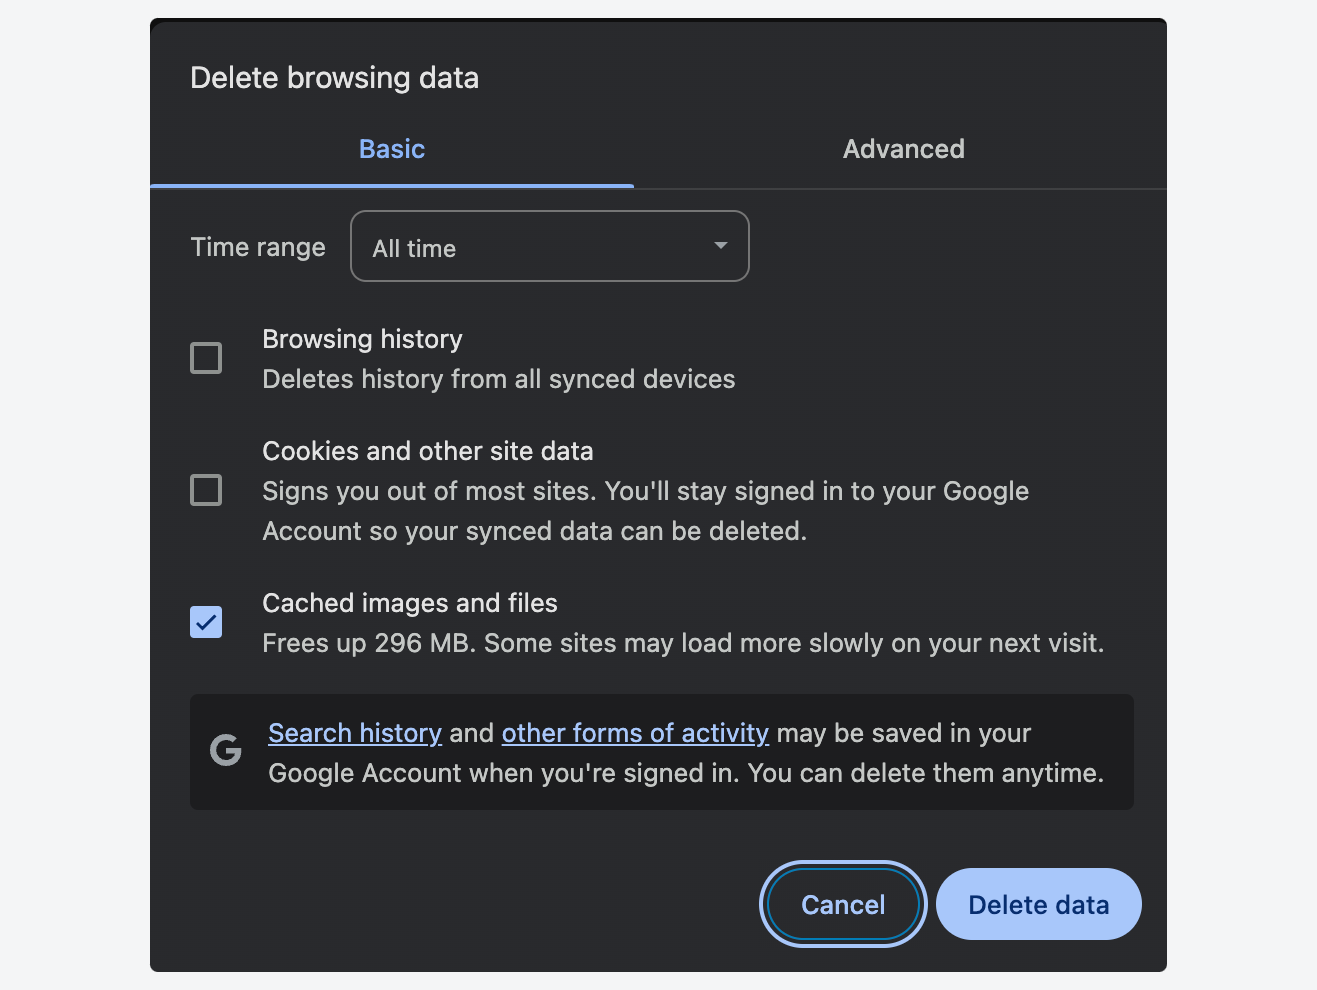
5. Clear browser and plugin cache
Sometimes, that blank screen isn’t actually a server-side problem at all – it might be that your browser is displaying a cached version of an error page.
Similarly, caching plugins might be serving outdated or corrupted cached files. Clearing these various caches can often resolve what appears to be a WSoD issue.
There are different methods to clear your cache for each browser; here’s an example using Google Chrome:
Click the three dots in the top right > Delete browsing data > Select “Cached images and files” > Clear data.
If you’re using a caching plugin like WP Rocket and can access your admin area, clear the cache through its interface by navigating to Dashboard > Settings > WP Rocket > Click the “Clear Cache” button.
Many managed hosts for WordPress implement server-level caching. For example, if you are hosted by WP Engine, you can clear the cache by navigating to WP Engine in the sidebar, then clicking on Purge All Caches under the General settings.
After clearing all applicable caches, do a hard refresh of your site (Ctrl+F5 on Windows/Linux, Cmd+Shift+R on Mac) to ensure you’re loading the most current version.
If this doesn’t work, it might be because your host’s caching solution doesn’t play well with your preferred caching plugin. For example, WP Engine’s EverCache layer works best with WP Rocket and might conflict with other alternatives.
6. Look for failed auto-updates
WordPress auto-updates are designed to be smooth, but occasionally, the update process can be interrupted, leaving your site in limbo.
When an update starts, WordPress creates a temporary .maintenance file in your root directory. If the update process is interrupted, this file remains and continues to tell WordPress your site is under maintenance, resulting in a white screen.
To check for this issue:
- Connect to your website using SFTP or your hosting file manager.
- Look in your WordPress root directory (where
wp-config.phpis located). - If you see a file named
.maintenance, delete it. - Refresh your website.
This simple fix can instantly resolve a WSoD that appears immediately after an update. If removing the file resolves your issue, you should still verify that the update was completed properly by checking your WordPress version in the dashboard once you regain access.
7. Resolve syntax and other code errors
Many WordPress site owners enhance their sites with custom code snippets added to their theme’s functions.php file or through Must-Use (MU) plugins.
While these customizations can add powerful features, they’re also common sources of WSoD. Even a minor syntax error – like a missing semicolon, unmatched bracket, or incorrect function name – can bring your entire site down.
If you’ve recently added custom code and encountered the WSoD shortly after, the connection is likely not coincidental. To resolve this:
- Create a backup of your site.
- Access your site via SFTP or your hosting control panel’s file manager.
- Navigate to the recently modified file (either in wp-content/mu-plugins for MU-Plugins or
wp-content/themes/your-theme/functions.php). - Restore a previous version if you have one, or remove the recent code additions.
When adding code to WordPress, always test it in a staging environment first, and make sure to maintain backups of all files before modifications.
8. Increase PHP text processing capability
A less common but frustrating scenario is when the WSoD appears only on specific long posts or pages. This typically happens when a page contains so much content that it exceeds PHP’s text processing limits, particularly when using complex regular expressions for content formatting.
To increase PHP’s text processing capability:
- Access your wp-config.php file via SFTP or host’s file manager.
- Add the following code just before the line that says “/* That’s all, stop editing! Happy publishing. */”:
/** Increase PHP text processing capability */
ini_set('pcre.recursion_limit', 20000000);
ini_set('pcre.backtrack_limit', 10000000);- Save the file and reload the problematic page.
If you find yourself needing these increased limits, you might also want to consider breaking your content into multiple pages for better performance.
9. Contact hosting provider
Before diving too deep into troubleshooting, it’s worth checking if your server is actually operational. You can use online tools like Is This Website Down? to verify whether the problem is isolated to your experience or affecting all visitors.
If server issues are confirmed, or if you’ve exhausted other troubleshooting options, contacting your hosting provider is the next logical step.
Managed hosts for WordPress like WP Engine offer specialized support for these exact scenarios. Their technical teams can:
- Check server logs for errors not visible to you.
- Verify PHP configuration and compatibility.
- Examine database connection issues.
- Identify resource limitations affecting your site.
Simply log into your account to access 24/7/365 expert support from technical specialists who understand WordPress at a deep level.
10. Restore from backups
When all troubleshooting efforts fail to resolve the WSoD, restoring from a backup becomes your safety net. Your hosting provider may create both automated and manual backups to help protect your data. WP Engine, for example, maintains daily backups of your site for 30 days, making restoration straightforward when needed.
Alternatively, you may be using a backup plugin like UpdraftPlus to manage your backups. If so, simply follow the plugin’s restoration instructions to bring your site back to a working state before the WSoD appeared.
Best practices to prevent the dreaded WSoD
Knowing how to fix the WSoD is great, but preventing it from occurring in the first place is even better. Here are some measures that can reduce your risk of encountering this frustrating issue:
Use staging environments
Never make changes directly to your live site. Instead, create a staging copy where you can safely test updates, new plugins, theme modifications, and custom code.
One of the most popular options involves using a tool such as Local. Alternately, premium hosting providers like WP Engine offer one-click staging environments that perfectly mirror your production site. This approach allows you to identify potential WSoD triggers before they affect your actual website.
Implement error monitoring
Don’t wait for errors to become visible to users. Install debugging tools like Query Monitor to proactively track PHP errors, database queries, and memory usage.
These tools can alert you to developing issues before they escalate to a full WSoD situation. Configure email notifications for critical errors so you can address problems even when you’re not actively monitoring your site.
Establish proper access controls
Limit who can modify your WordPress site. Create specific user roles with appropriate permissions for content creators, editors, and administrators. The fewer people with access to theme files, plugins, and core settings, the lower your risk of accidental errors.
Additionally, set up proper file permissions (typically 644 for files and 755 for directories) to prevent unauthorized modifications that could trigger the WSoD.
Maintain regular backups
Automated, frequent backups are your best insurance policy against WSoD disasters. Configure daily backups of both your files and database and store them securely off-site.
Before making any significant changes to your site, create an additional manual backup as an extra precaution. Verify your backup system regularly by testing the restoration process on a staging site.
Carefully vet your extensions
Before installing any new extension, whether it’s a plugin or theme, check:
- When it was last updated (avoid anything not updated within six months).
- Compatibility with your WordPress version.
- User ratings and reviews.
- Support responsiveness.
- Code quality (if possible).
Document all changes
Maintain a detailed changelog of all modifications to your WordPress site, including:
- Plugin installations and updates.
- Theme changes and customizations.
- Custom code additions.
- Server configuration changes.
- WordPress core updates.
This documentation becomes invaluable when troubleshooting, as it helps you quickly identify recent changes that might have triggered a WSoD event.
Reduce WSoD with ACF: Structured custom fields for stability
Many WSoD errors stem from unexpected data, PHP conflicts, or improperly structured custom fields. Advanced Custom Fields (ACF®) helps reduce these risks by allowing you to manage custom data without needing extensive code, making it a versatile tool for both developers and non-technical users.
Here are some best practices for stability with ACF:
- Use ACF’s built-in validation rules to enforce correct data types (e.g., numbers, URLs, emails) and minimize PHP errors caused by unexpected inputs. These validation rules act as a safety net, preventing problematic data from entering your database in the first place.
- Pair ACF with Divi or Elementor to display custom fields visually without custom code, minimizing the chance of code-related issues. This approach lets you harness the power of custom fields while maintaining a user-friendly, error-resistant workflow.
- Use a MU (Must-Use) plugin for custom logic (if needed) rather than modifying functions.php, ensuring your changes persist across theme updates. This separation of concerns keeps your custom field functionality independent from your theme, reducing the risk of conflicts.
- Store ACF field configurations in Local JSON (acf-json/) to improve portability and reduce reliance on database syncs. This approach creates a version-controllable backup of your field structures and speeds up field loading, improving overall site performance.
- For advanced customizations, always check if ACF is active before calling functions (e.g.,
function_exists('get_field'))to prevent fatal errors if ACF is deactivated. This defensive programming approach ensures your site remains functional even if ACF becomes temporarily unavailable.
⚠ While ACF helps reduce WSOD risks, following best practices – whether using code or visual builders – ensures a more stable, scalable WordPress site.
Build more stable WordPress sites starting today
The WordPress WSoD can be intimidating when you first encounter it, but as we’ve seen, there are systematic approaches to diagnose and fix this frustrating issue.
However, professional WordPress developers know that recovery is only part of the equation – prevention is what truly sets them apart. While anyone can learn to troubleshoot issues after they occur, experienced developers design their sites for stability from the ground up.
That’s why ACF is the developer’s choice for creating resilient WordPress sites. Its structured approach to custom data management helps prevent the very issues that commonly cause the White Screen of Death: fatal PHP errors, broken custom fields, and data inconsistencies.
Start implementing these best practices today and consider ACF as your foundation for structured, stable WordPress development.

For plugin support, please contact our support team directly, as comments aren't actively monitored.