
Overview
This guide will demonstrate how to add custom fields to a WordPress Attachment and how to then display these fields.
All the template functions (get_field(), the_field(), etc) can be used to load values from a media attachment, however, a second parameter is required to target the attachment.
Changelog
- Added attachment types to location rule in version 5.6.0
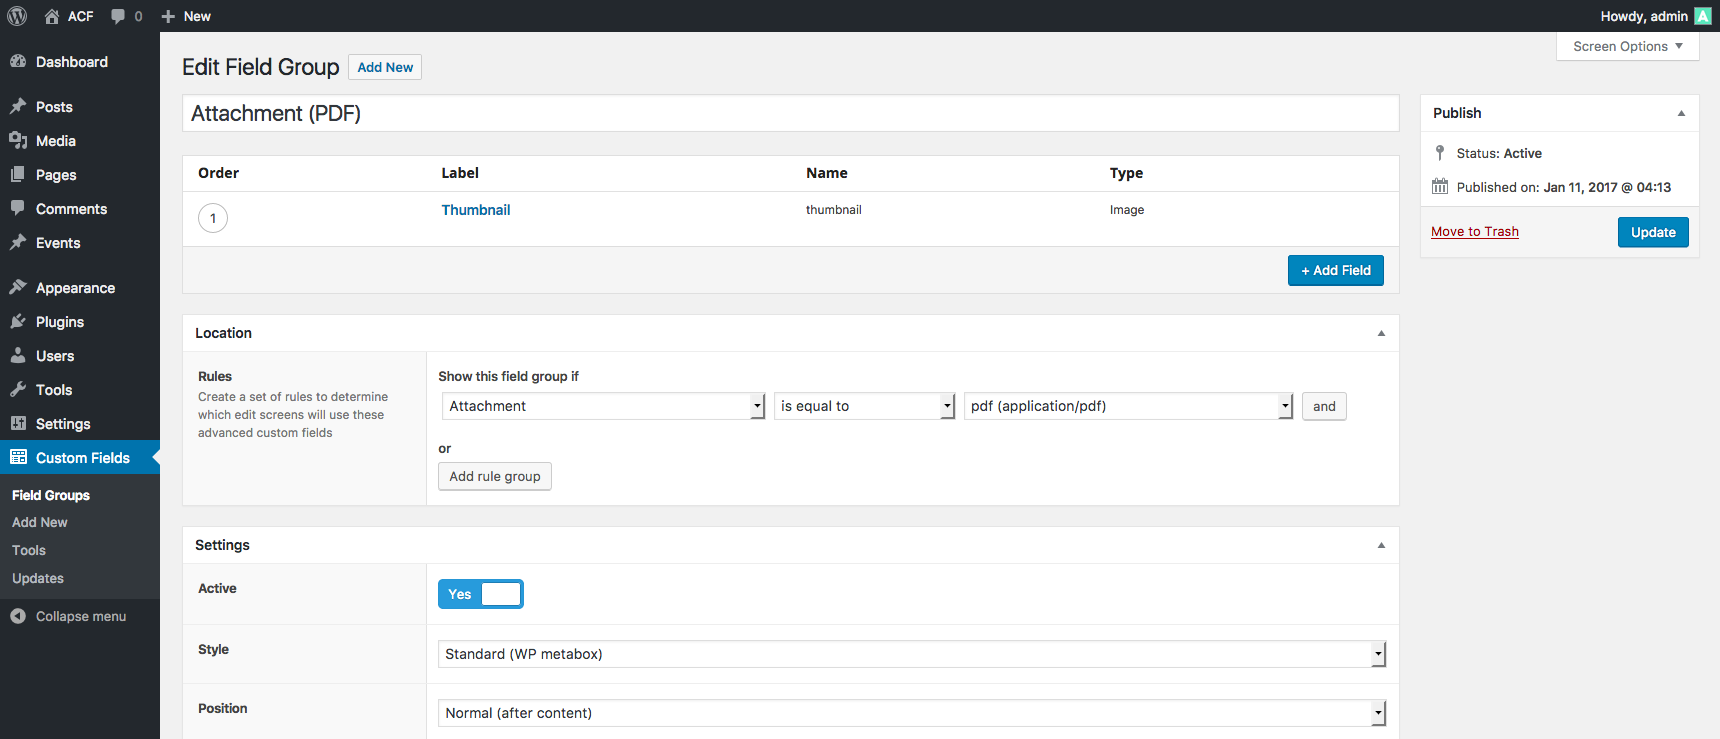
Adding fields
The Advanced Custom Fields plugin makes it very easy to add custom fields to an Attachment, please follow the steps below.
- From the Custom Fields admin screen, click the Add New button to create a new field group
- Add the fields you would like to see when editing an Attachment
- Under Locations, select the Attachment rule and choose ‘All’ (to show this field group on all attachments) or a specific attachment type (to show this field group only for specific attachments)
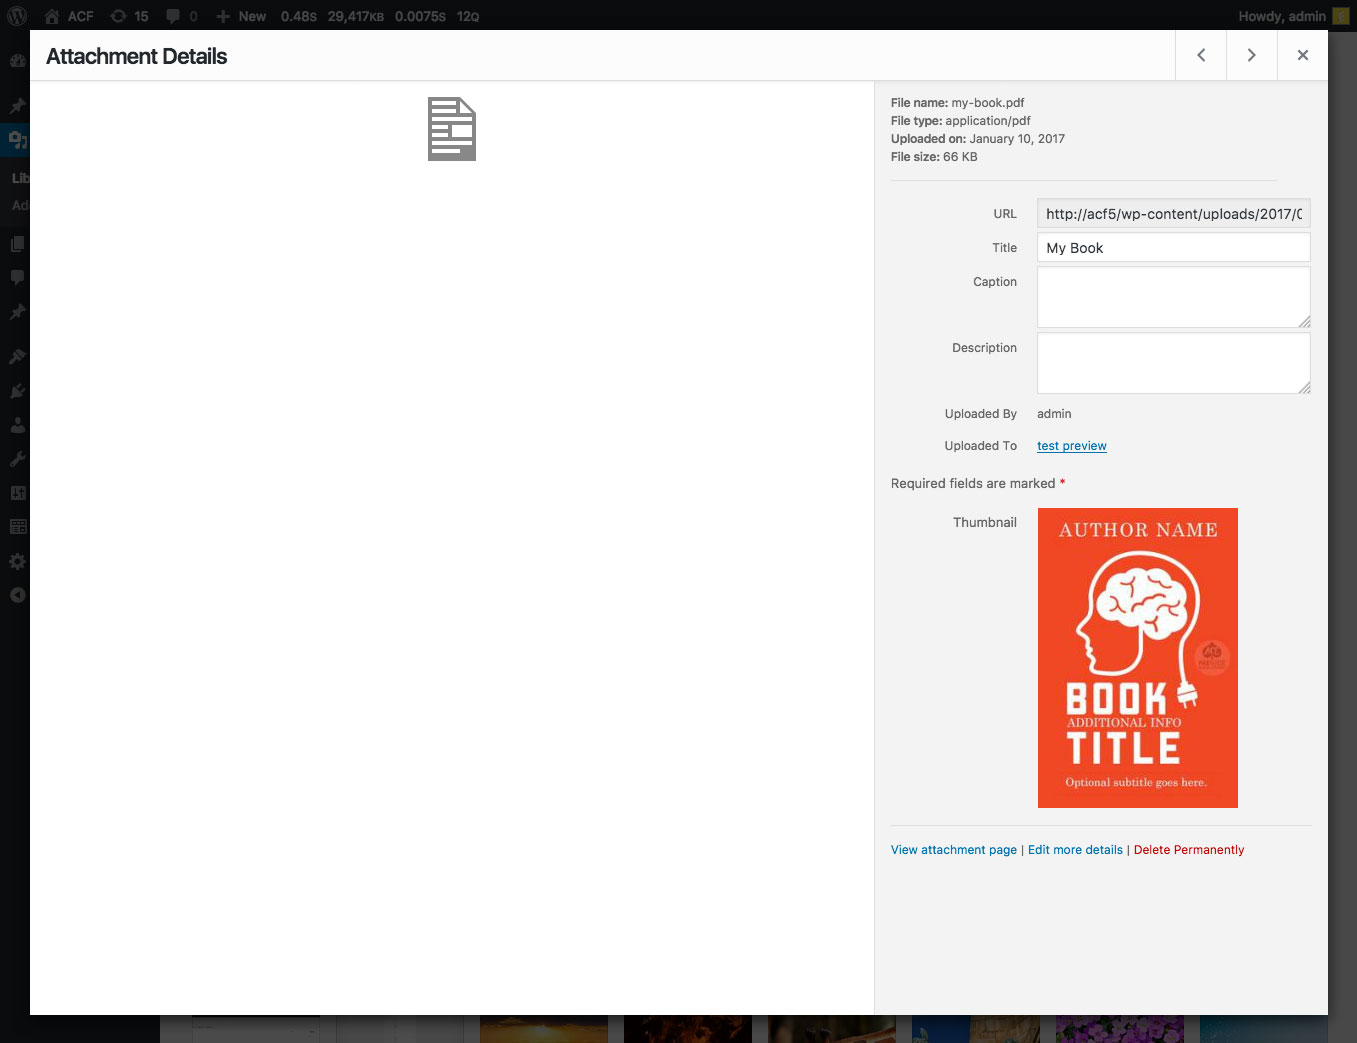
Editing fields
Once you have created a field group and assigned it to appear for an Attachment edit screen, editing the field values is done by one of the following:
- Navigating to the Media > Library admin page and selecting an attachment.
- Using the Add Media button when editing a post’s content.
- Using an ACF image field or file field to select an attachment.
WP stores each Attachment as a post object in the wp_posts table. ACF will store all custom field values in the wp_postmeta table.
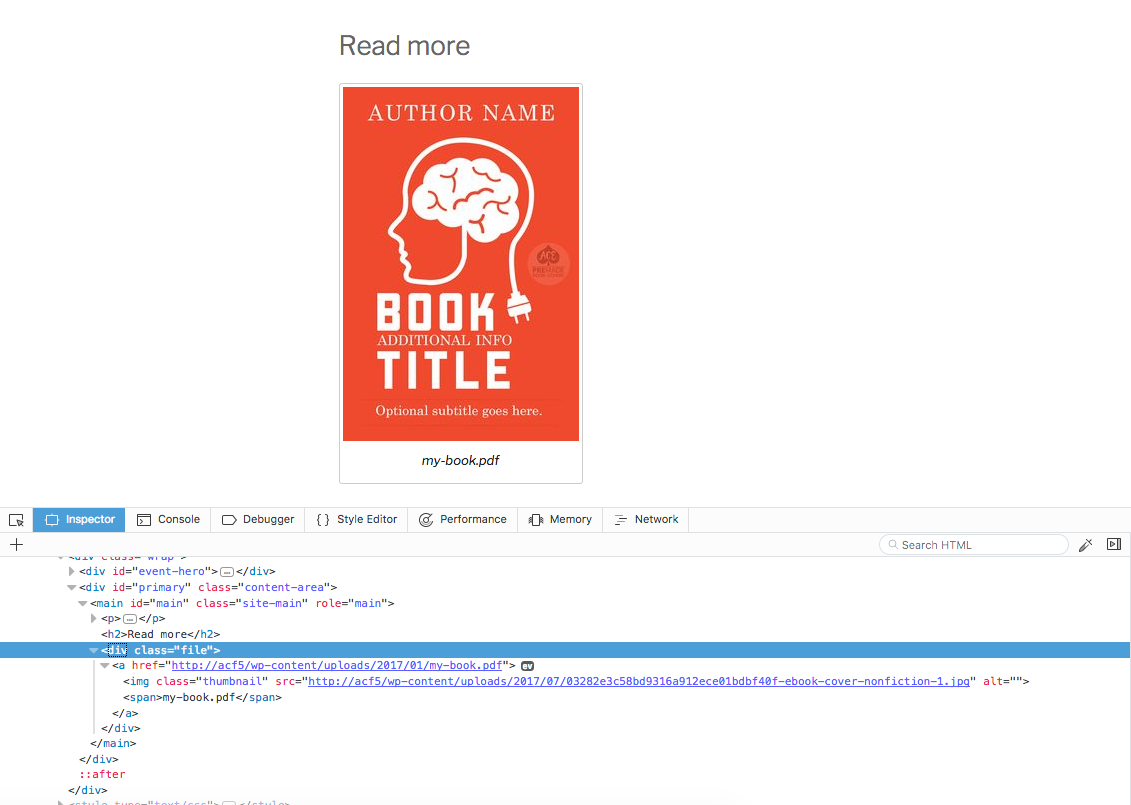
Displaying fields
Customizing the HTML for a WordPress Attachment will differ depending on the context. Attachments are used in many ways by different themes. The following example uses a file field (from a post edit screen) to select an Attachment. The selected Attachment (.pdf) has been assigned a ‘Thumbnail’ which is displayed with the file info below.
Note how the Attachment ID is used to load the field value from the selected Attachment.
single.php

<?php

// load selected file (from post)
$file = get_field('file');

if( $file ):

    // load selected thumbnail (from attachment)
    $thumbnail = get_field('thumbnail', $file['ID']);

    ?>
    <h2>Read more</h2>
    <div class="file">
        <a href="<?php echo $file['url']; ?>">
            <?php if( $thumbnail ): ?>
                <img class="thumbnail" src="<?php echo $thumbnail['url']; ?>" alt="<?php echo $thumbnail['alt']; ?>" />
            <?php endif; ?>
            <span><?php echo $file['filename']; ?></span>
        </a>
    </div>
<?php endif; ?>
Result
Here is an example of the above code in action. Note the <img> tag created with the Attachment’s Thumbnail value.
Examples
Display a field
This example will display a field value from an Attachment (attachment ID = 12)
<p><?php the_field('field_name', 12); ?></p>Retrieve a field
This example will load a field value from an Attachment (attachment ID = 12)
<?php

$variable = get_field('field_name', 12);

// do something with $variable

?>
Retrieve from another image custom field
This example will show how to load a selected image from a custom field, and then load a custom field from that image.
<?php

// get an image field
$image = get_field('image');

// each image contains a custom field called 'link'
$link = get_field('link', $image['ID']);

// render
?>
<a href="<?php echo $link; ?>">
    <img src="<?php echo $image['url']; ?>" alt="<?php echo $image['alt']; ?>" />
</a>
Working with the Repeater Field
This example will show how to loop over an attachment field’s repeater field value (attachment ID = 123).
Note that when inside of a have_rows loop, you do not need to use the $post_id parameter for any sub field functions (get_sub_field(), the_sub_field())
<?php if( have_rows('repeater', 123) ): ?>

    <ul>

    <?php while( have_rows('repeater', 123) ): the_row(); ?>

        <li><?php the_sub_field('title'); ?></li>

    <?php endwhile; ?>

    </ul>

<?php endif; ?>
Supercharge Your Website With Premium Features Using ACF PRO
Speed up your workflow and unlock features to better develop websites using ACF Blocks and Options Pages, with the Flexible Content, Repeater, Clone, Gallery Fields & More.
Related
- Guides: Adding fields to Posts
- Getting Started: Displaying Values in Your Theme
- Guides: Adding fields to Menu Items
- Guides: Adding fields to Menus
- Field Types: User
