
Overview
This guide will demonstrate how to add custom fields to a WordPress Menu and how to then modify the Menu’s HTML.
Menus are used to organize a group of links (menu items) for your theme to display as navigation. If you are unfamiliar with registering or editing a Menu, please read the WordPress Menu User Guide and Navigation_Menus documentation.
Menus are used to group menu items. Learn how to add fields to Menu Items.
Changelog
- Added support for Menu in version 5.6.0
Adding fields
The Advanced Custom Fields plugin makes it very easy to add custom fields to a Menu, please follow the steps below.
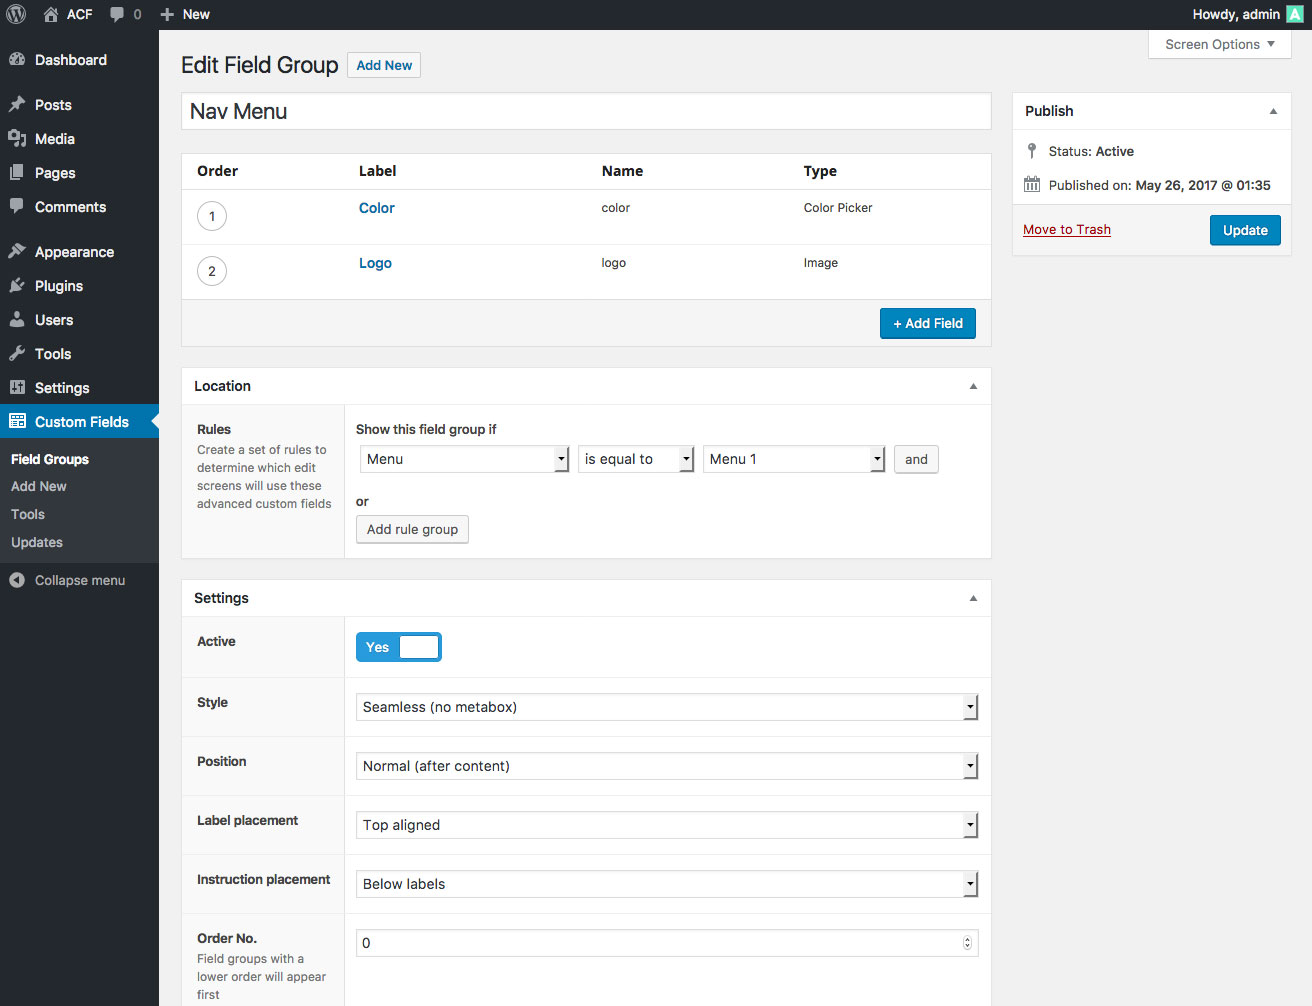
- From the Custom Fields admin screen, click the Add New button to create a new field group.
- Add the fields you would like to see when editing a Menu
- Under Locations, select the Menu rule and choose either ‘All’ (to show this field group on all menus) or a specific menu/location (to show this field group only for a specific menu)
Change the Style setting to ‘Seamless’ if you wish for the field group to appear joined to the core settings (No heading or border) as shown in this guide’s screenshots.
Editing fields
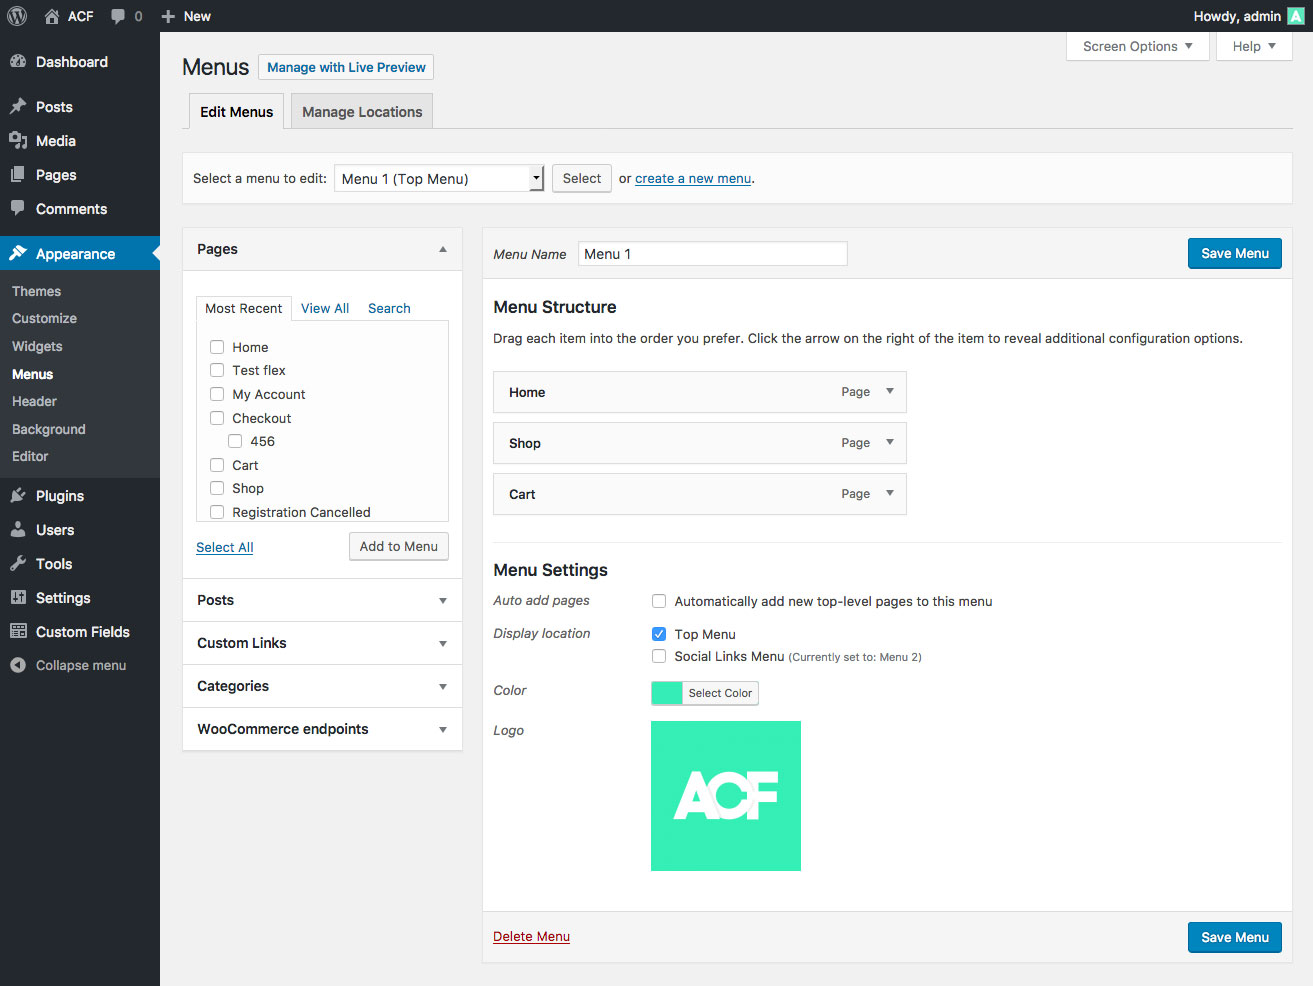
Once you have created a field group and assigned it to appear for a Menu edit screen, editing the field values is done by navigating to the Appearance > Menus admin page.
WP stores each Menu as a term object in the wp_terms table. ACF will store all custom field values in the wp_termmeta table.
Displaying fields
Customizing the HTML for a WordPress Menu can be easily done via the wp_nav_menu_items filter. This filter is run each time a Menu is rendered (via the wp_nav_menu() function) and allows you to modify the <li> elements HTML for the Menu.
This example shows how to modify the main navigation menu from the twentyseventeen theme (Menu location is called ‘top’ in this theme). Please note that a second argument is required by the ACF functions to specify where to load the value from. Because each Menu is a term object, we can simply pass this object as the second parameter. The Menu term object is found by using the $args->menu data.
functions.php

add_filter('wp_nav_menu_items', 'my_wp_nav_menu_items', 10, 2);

function my_wp_nav_menu_items( $items, $args ) {

    // get menu
    $menu = wp_get_nav_menu_object($args->menu);


    // modify primary only
    if( $args->theme_location == 'top' ) {

        // vars
        $logo = get_field('logo', $menu);
        $color = get_field('color', $menu);


        // prepend logo
        $html_logo = '<li class="menu-item-logo"><a href="'.home_url().'"><img src="'.$logo['url'].'" alt="'.$logo['alt'].'" /></a></li>';


        // append style
        $html_color = '<style type="text/css">.navigation-top{ background: '.$color.';}</style>';


        // append html
        $items = $html_logo . $items . $html_color;

    }


    // return
    return $items;

}
Conclusion
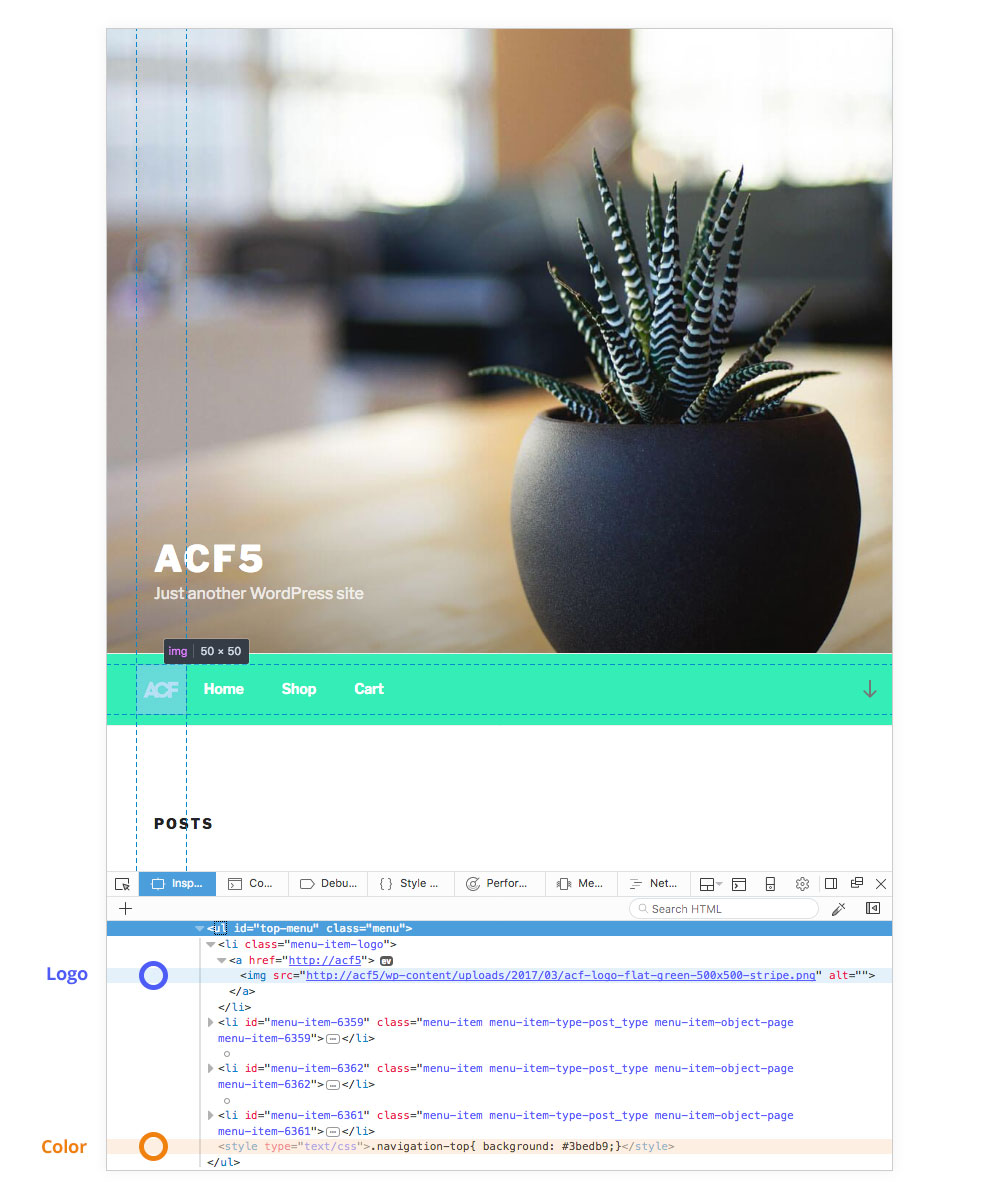
Here is a look at how this may look in your browser. Notice the new logo <img> and color <style> elements!
Supercharge Your Website With Premium Features Using ACF PRO
Speed up your workflow and unlock features to better develop websites using ACF Blocks and Options Pages, with the Flexible Content, Repeater, Clone, Gallery Fields & More.
Related
- Guides: Adding fields to Menu Items
- Guides: Adding fields to Posts
- Guides: Adding fields to Media Attachments
- Field Types: User
- Getting Started: Displaying Values in Your Theme
