
Description
The Image field allows an image to be uploaded and selected by using the native WordPress media modal.
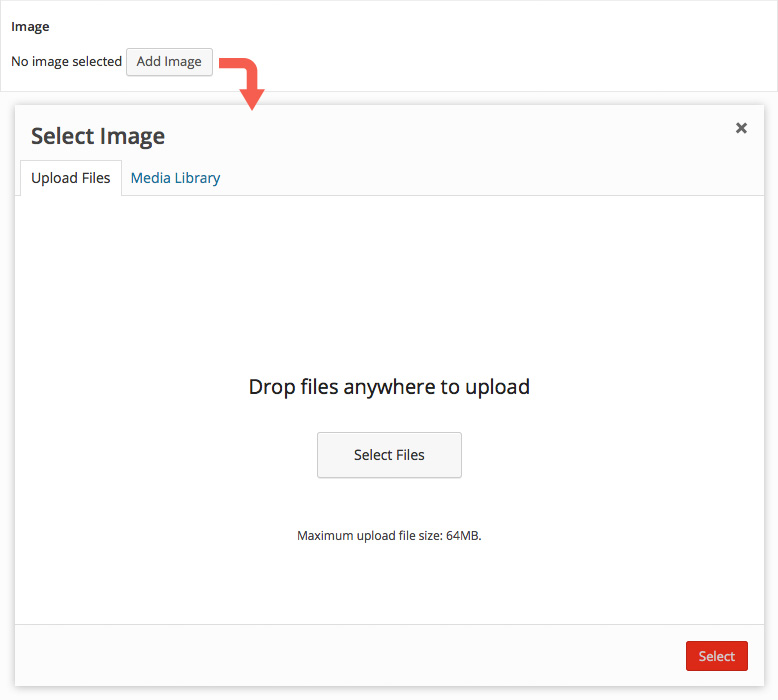
Screenshots
Changelog
- Added
Minimumsetting in version 5.1.9. - Added
Maximumsetting in version 5.1.9. - Added
Allowed File Typessetting in version 5.1.9.
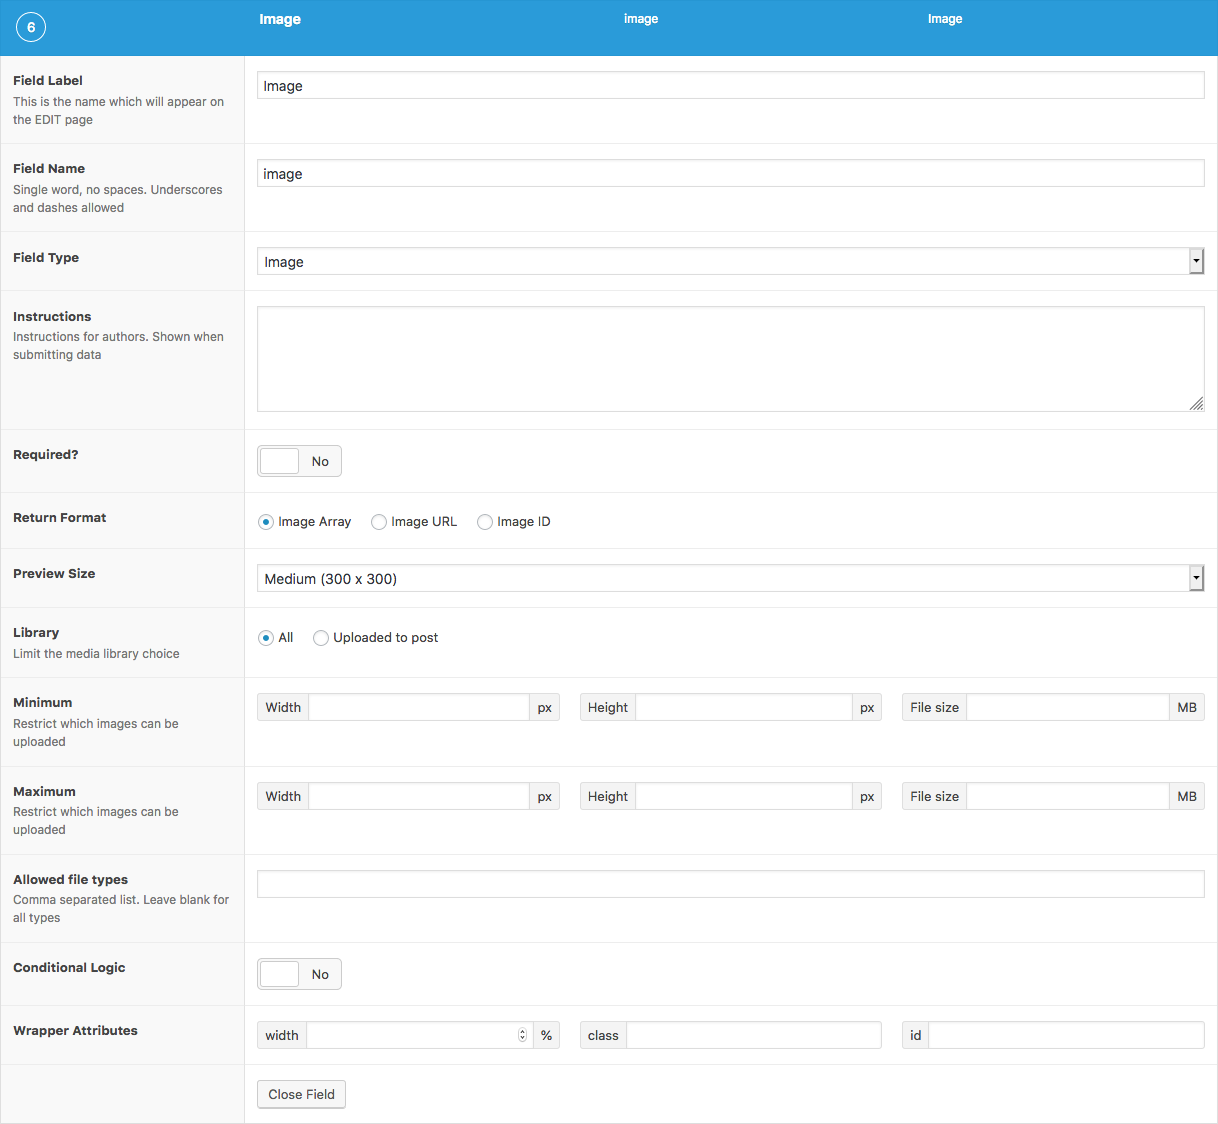
Settings
Return Format
Specifies the format of the returned data. Choose from Image Array (array), Image URL (string), or Image ID (integer).Preview Size
The WordPress image size displayed when editing values.Library
Limits file selection to only those that have been uploaded to this post, or the entire library.Minimum
Adds upload validation for minimum width in pixels (integer), height in pixels (integer) and filesize in MB (integer). The filesize may also be entered as a string containing the unit, e.g.,'400KB'.Maximum
Adds upload validation for maximum width, height and file size.Allowed File Types
Adds upload validation for specific file types. Enter a comma separated list to specify which file types are allowed or leave blank to accept all types.
Template usage
The Image field will return either an array, a string or an integer value depending on the Return Value set.
Display image (ID)
This example demonstrates how to display the selected image when using the Image ID return type. This example uses the wp_get_attachment_image() function to generate the image HTML.
This function also generates the srcset attribute allowing for responsive images!
<?php
$image = get_field('image');
$size = 'full'; // (thumbnail, medium, large, full or custom size)
if( $image ) {
    echo wp_get_attachment_image( $image, $size );
}
Display image (array)
This example demonstrates how to display the selected image when using the Image Array return type. This return type provides extra image data such as alt text, caption, and sizes.
<?php
$image = get_field('image');
if( !empty( $image ) ): ?>
    <img src="<?php echo esc_url($image['url']); ?>" alt="<?php echo esc_attr($image['alt']); ?>" />
<?php endif; ?>
Customized display (array)
This example demonstrates how to display a custom size of the selected image when using the Image Array return type. This return type allows us to access extra image data such as sizes, width, height, and more.
<?php
$image = get_field('image');
if( $image ):

    // Image variables.
    $url = $image['url'];
    $title = $image['title'];
    $alt = $image['alt'];
    $caption = $image['caption'];

    // Thumbnail size attributes.
    $size = 'thumbnail';
    $thumb = $image['sizes'][ $size ];
    $width = $image['sizes'][ $size . '-width' ];
    $height = $image['sizes'][ $size . '-height' ];

    // Begin caption wrap.
    if( $caption ): ?>
        <div class="wp-caption">
    <?php endif; ?>

    <a href="<?php echo esc_url($url); ?>" title="<?php echo esc_attr($title); ?>">
        <img src="<?php echo esc_url($thumb); ?>" alt="<?php echo esc_attr($alt); ?>" />
    </a>

    <?php
    // End caption wrap.
    if( $caption ): ?>
        <p class="wp-caption-text"><?php echo esc_html($caption); ?></p>
        </div>
    <?php endif; ?>
<?php endif; ?>
Display image (URL)
This example demonstrates how to display the selected image when using the Image URL return type. This return type allows us to efficiently display a basic image but prevents us from loading any extra data about the image.
<?php if( get_field('image') ): ?>
    <img src="<?php the_field('image'); ?>" />
<?php endif; ?>
Supercharge Your Website With Premium Features Using ACF PRO
Speed up your workflow and unlock features to better develop websites using ACF Blocks and Options Pages, with the Flexible Content, Repeater, Clone, Gallery Fields & More.
